Robot Poser#
The Robot Poser creates, edits, and applies named poses for robots that carry the Robot Schema. It combines an interactive IK-goal workflow with persistent USD storage so that authored poses travel with the robot asset and can be replayed both in the GUI and through code.
The functionality is split across two extensions:
isaacsim.robot.poser– Headless API for IK solving, named-pose CRUD, joint-state application, and JSON import/export.isaacsim.robot.poser.ui– GUI comprising the Robot Poser window, the Named Pose properties panel, and a custom stage icon forIsaacNamedPoseprims.
Robot Poser Window#
The Robot Poser window is accessible via Tools > Robotics > Robot Poser.
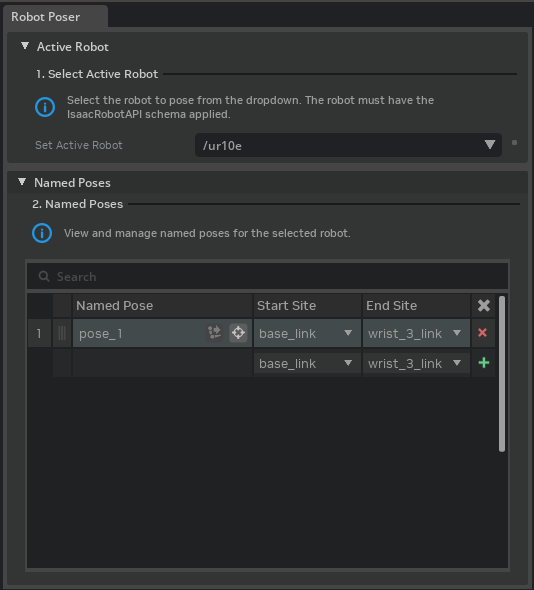
Robot Selection#
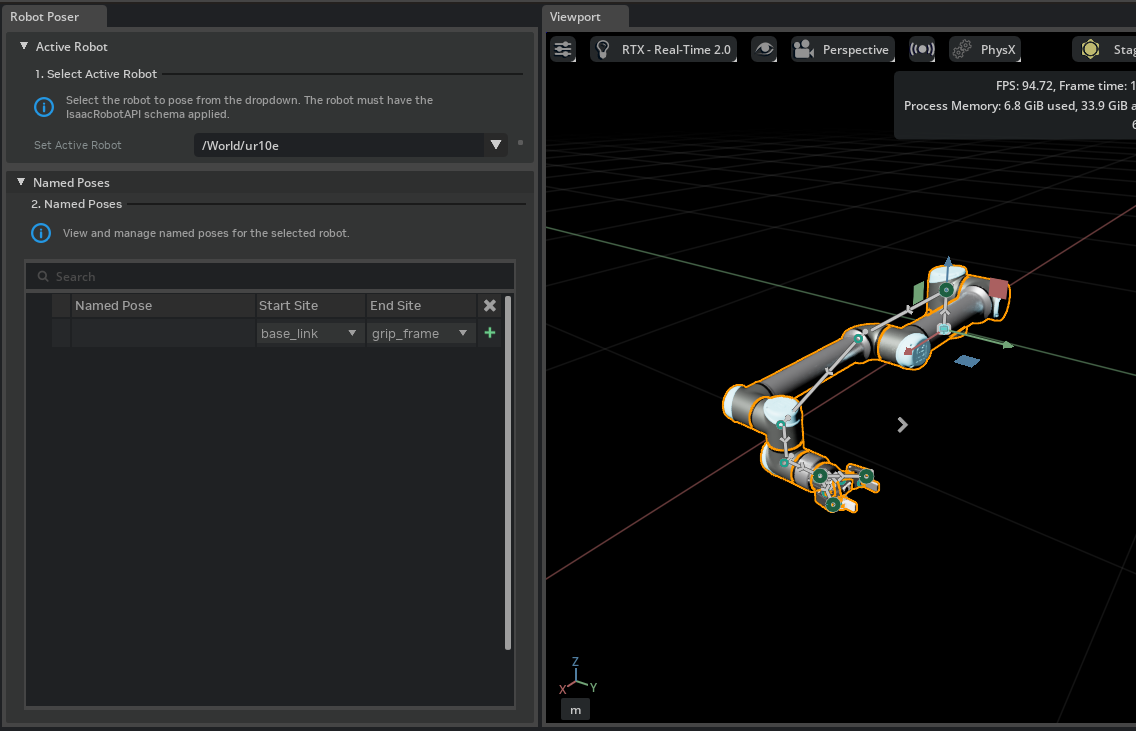
A dropdown at the top of the window lists every prim on the current stage that has IsaacRobotAPI applied. Selecting a robot loads its existing named poses into the table below and populates the available site candidates used for start/end link selection.
Named Poses Table#
The main area of the window displays a table of the robot’s named poses. Each row shows:
Column |
Description |
|---|---|
Named Pose |
Editable name of the pose. Renaming updates the underlying |
Start Site |
The start link of the kinematic chain. Can be a Link or a site. Typically the base of the robot. |
End Site |
The end link or site of the kinematic chain. Can be a Link or a site. Typically the end-effector frame or tool mount. |
Note
Selecting a site that is not a fixed frame of the robot, and that affect the robot’s origin in the course of the kinematic chain may result in the robot moving its base origin. If that needs to be fixed in the future, you can manually reset the pose of the robot’s origin link, and re-apply the named pose.
Note
tip: create a named pose for the robot’s base position, and you can use it to reset the robot to its initial position if any authoring cause the robot to move from its initial position.
Row Actions#
Each row provides action buttons:
Apply Pose (
 ) – Sets the robot to the stored joint configuration. When simulation is stopped the joints are teleported directly; when running, the values are written as joint drive targets.
Track Target (
 ) – Enables real-time IK tracking for the pose. While active, moving the
 IsaacNamedPoseprim in the viewport (via its manipulator gizmo) continuously solves IK and updates the stored joint values. When IK fails to converge, a red outline is drawn on the end-effector link chain to indicate the failure.
Managing Poses#
Add – Creates a new
IsaacNamedPoseprim under the robot’sNamed_Posesscope, registers it in theisaac:robot:namedPosesrelationship, and adds a row to the table. The new pose captures the robot’s current joint state for the selected start/end site pair.Remove – Deletes the selected pose prim from the stage and removes it from the robot’s relationship.
Search – Filters the table rows by name.
Drag-and-drop – Reorders rows, which also reorders the targets in the
namedPosesrelationship.
Simulation Behavior#
The Robot Poser behaves differently depending on whether the simulation timeline is playing.
Simulation stopped – Joint values are applied by directly teleporting the joint attributes on the USD stage. The robot jumps to the target pose instantly, and is authored to the active edit target layer. This is the expected mode during authoring: it lets you position the robot precisely without physics interference and produces clean USD opinions suitable for saving.
Simulation running – Joint values are written as joint drive targets. The physics engine then moves the robot toward the requested configuration over subsequent simulation steps, respecting dynamics, joint limits, and contact forces. The resulting motion is smooth but may not reach the exact target if forces or collisions prevent it. The target pose is not authored to the active edit target layer, instead it is authored to a session layer, and gets cleared once simulation stops. If you want to keep the pose after simulation stops, you can change the simulation setting to not reset the robot state on stop.
IK tracking follows the same rule: while tracking is active and simulation is stopped, joints are teleported each frame the target moves; while simulation is running, drive targets are updated instead.
Asset Structure Recommendations#
Named poses and the joint values they write to are authored on the current edit target layer. Following the Asset Structure guidelines:
Named pose prims (
IsaacNamedPose) should be authored in the robot schema layer alongside the rest of the Robot Schema. They describe the robot’s capabilities and travel with the asset.Robot base pose (the initial position and orientation of the robot on the stage) should be authored in the base layer, or a dedicated authoring layer applied on top of the asset base (to avoid data loss) and physics layers. This keeps scene-level placement separate from the robot definition itself and avoids modifying the source or physics layers.
When authoring named poses, if physics is not enabled, temporarily add the physics layer as a sublayer so the kinematic chain can be resolved, then remove it before saving – the same workflow used when applying the Robot Schema itself.
Named Pose Properties Panel#
When an IsaacNamedPose prim is selected in the Stage panel, The Named posed properties can be edited in the properties panel. This panel provides direct editing of the pose without requiring the Robot Poser window to be open.
Whenever a named pose is selected, its transform is automatically updated to the forward kinematics of the robot at the named pose values.
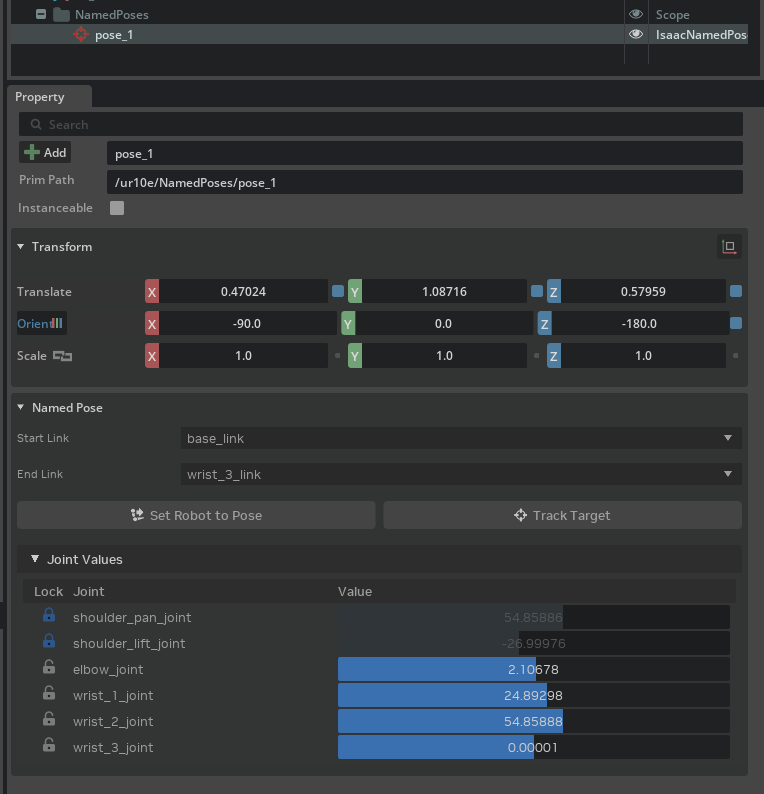
Site Selection#
Two combo boxes at the top of the panel control the Start Link and End Link relationships on the prim. Changing a site rebuilds the kinematic chain and recomputes the joint table below. The combo boxes support search filtering to quickly locate sites on complex robots.
Action Buttons#
Button |
Description |
|---|---|
Set Robot to Pose ( |
Applies the stored joint values to the robot, matching the behavior of the Apply Pose button in the Robot Poser window. |
Track Target ( |
Starts standalone IK tracking for this pose. The tracking loop runs independently of the Robot Poser window – no window needs to be open. While tracking, the named pose prim’s Xform (position and orientation) is used as the IK target each frame. Moving the prim via the viewport manipulator drives the robot in real time. |
Joint Table#
Below the action buttons, an editable joint table lists every joint in the kinematic chain between the start and end links:
Column |
Control |
Description |
|---|---|---|
Lock |
Toggle icon |
Locks or unlocks the joint. A locked (fixed) joint is held constant during IK solving; its |
Joint |
Label |
Joint prim name. |
Value |
Slider |
Current joint value within the joint’s limits. Dragging the slider updates the stored |
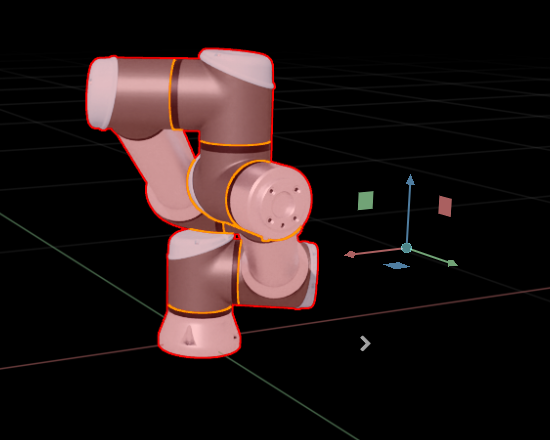
IK Failure Visualization#
When IK tracking is active and the solver fails to converge (the target pose is unreachable), a red outline is drawn on the geometry prims along the IK chain. The outline clears automatically when the solver succeeds again or tracking is stopped.
Example: Authoring Named Poses#
This walkthrough creates three named poses on a robot arm – a home position, a pick-ready stance, and a place target – using the Robot Poser window and IK tracking. Start with a stage that contains at least one robot prim with IsaacRobotAPI applied.
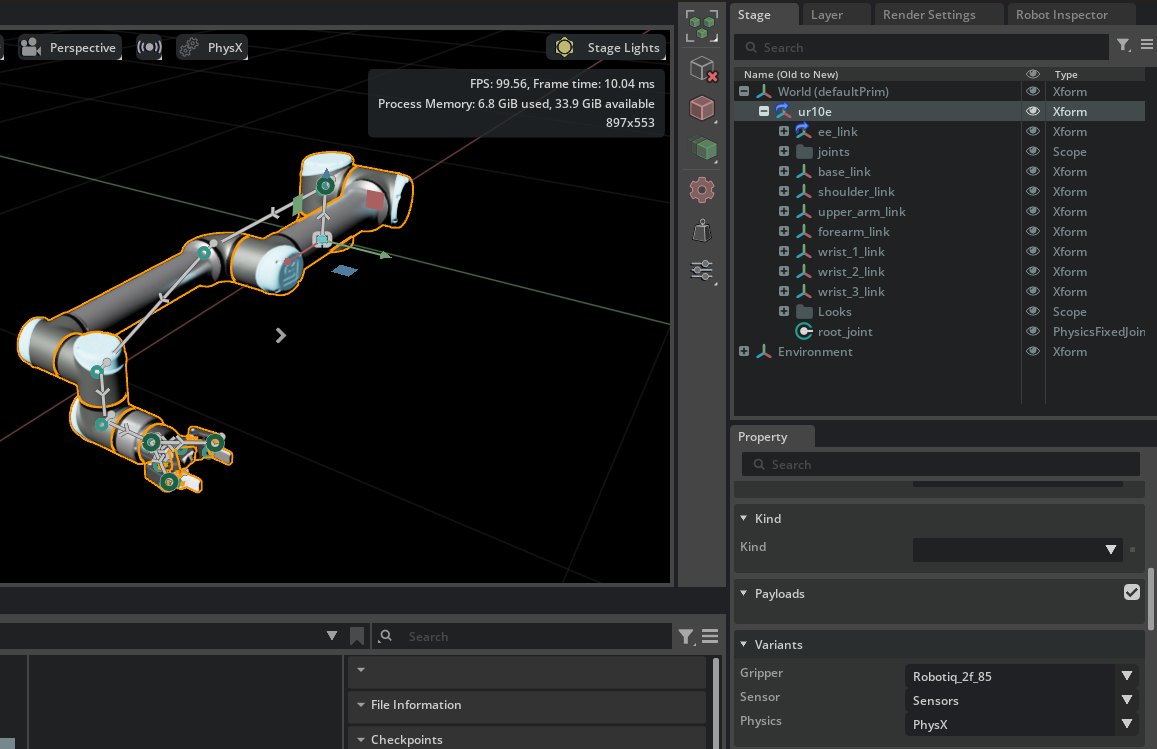
In This Example, we will use the UR10e robot from UniversalRobots, with the Robotiq 2F-85 gripper.
1. Find the UR10e robot in the UniversalRobots folder in the assets browser.
2. Add the UR10e robot to the stage by dragging it onto the stage.
3. Select the Robotiq 2F-85 gripper in Gripper Variants on the property panel.
1. Select the Robot#
Open the Robot Poser window via Tools > Robotics > Robot Poser. In the Active Robot dropdown, ensure the UR10e is selected.
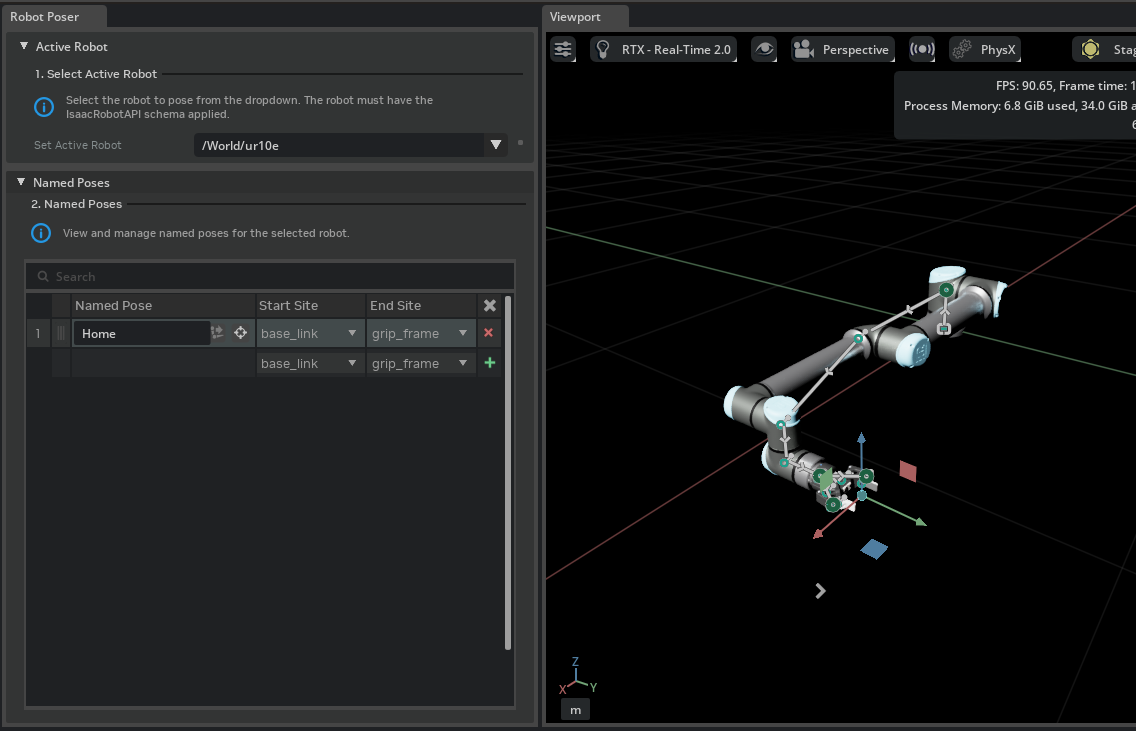
2. Add a “Home” Pose#
With the robot in its default joint configuration, Select the start link as `base_link` and the end link as `grip_frame`. Notice there are two `base_link` items on the dropdown. Hover over the name to verify it is the base_link for the ur10e, and not for the gripper. Click Add in the Robot Poser window. A new row appears in the Named Poses table. Rename it to Home by double-clicking the name cell. Select the desired Start Site and End Site for the kinematic chain.
This pose captures the robot’s current joint state and serves as a known-good reset position.
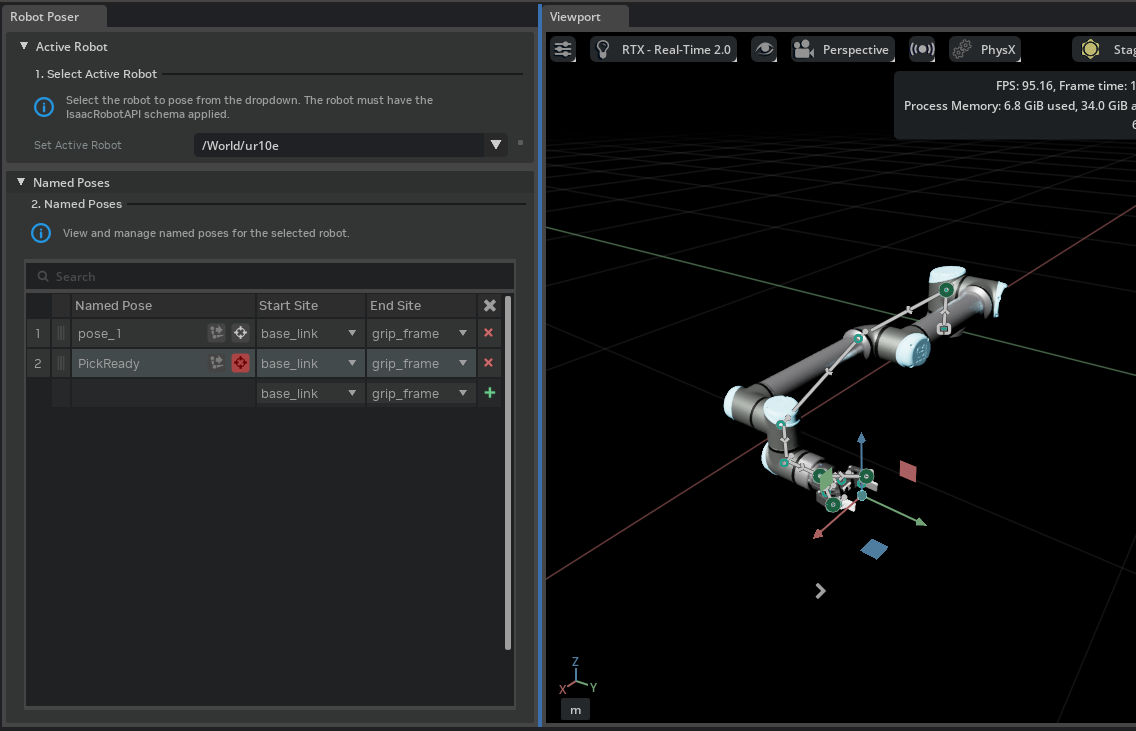
3. Add a “Pick Ready” Pose with IK Tracking#
Click Add again to create a second pose and rename it to PickReady. Click the Track Target button (![]() ) on the new row to enable IK tracking.
) on the new row to enable IK tracking.
With tracking active, select the PickReady named pose prim in the viewport and use the translate/rotate gizmo to drag the end-effector to the desired pre-grasp position. You can also change the pose through the transform property panel. The robot updates its pose in real time as IK solves each frame.
Once the robot reaches the target pose, click Track Target again to stop tracking. The joint values are now stored in the PickReady prim.
4. Add a “Place” Pose#
Repeat the process: click Add, rename the pose to Place, enable Track Target, and drag the named pose prim to the desired place location. Stop tracking when satisfied.
5. Verify the Poses#
Click the Apply Pose button (![]() ) on each row to cycle through the poses and confirm the robot reaches the expected configurations. Reorder rows by drag-and-drop if a different sequence is preferred.
) on each row to cycle through the poses and confirm the robot reaches the expected configurations. Reorder rows by drag-and-drop if a different sequence is preferred.
See video below for a demonstration of the workflow.

Things to try#
Enable tracking and move the named pose prim in the viewport while simulation is running. The robot will follow the named pose prim in real time.
Use the Animation curve Editor to create a robot animation from the named poses by setting time-coded joint target values for the joints.
Work on a Multi-end-effector robot by creating named poses for each end-effector.
Try creating a named pose for the robot’s base position, and you can use it to reset the robot to its initial position if any authoring cause the robot to move from its initial position.
Try creating a named pose between two different end-effectors that moves the robot’s base link to a new position. Reset the robot to the origin by resetting the base link transform, and re-apply the Zero-Pose named pose.
Named Pose Schema Reference#
Each named pose is stored as an IsaacNamedPose typed prim on the USD stage. The schema, its relationships, attributes, and query utilities are documented in the Robot Schema reference.
The isaacsim.robot.poser extension provides the CRUD and I/O functions for working with named poses programmatically. See the Named Pose CRUD section in the Robot Schema documentation for the full API listing.