Trajectory Planning and Execution#
This tutorial demonstrates how to work with trajectories in the Motion Generation API.
By the end of this tutorial, you’ll understand:
How the
Trajectoryinterface worksHow to implement your own trajectory class
How to convert waypoints to trajectories using
PathHow to execute trajectories with
TrajectoryFollowerThe complete cycle for following trajectories
The standalone example trajectory_example.py demonstrates trajectory planning and execution:
# Trajectory planning and execution with TrajectoryFollower
./python.sh standalone_examples/api/isaacsim.robot_motion.experimental.motion_generation/trajectory_example.py
Note
You can run this example with the --linear flag to use a custom LinearTrajectory instead of the built-in minimal-time trajectory.
This demonstrates that TrajectoryFollower has no opinion about which trajectory type it follows - it works with any object
that implements the Trajectory interface:
# Run with custom LinearTrajectory
./python.sh standalone_examples/api/isaacsim.robot_motion.experimental.motion_generation/trajectory_example.py --linear
The Trajectory Interface#
A Trajectory represents a continuous path through robot state space that can be queried at any time. The interface is basic and you can implement
any trajectory planning algorithm you want, as long as it returns an object that implements the Trajectory interface. The interface requires two members:
duration- A read-only property that returns the total duration of the trajectory in secondsget_target_state()- A method that returns the desiredRobotStateat a given time along the trajectory
Trajectories start at time 0.0 and end after their duration. If you have discrete waypoints, you’ll need to implement interpolation in get_target_state()
to return states for times between waypoints.
Implementing a Custom Trajectory: LinearTrajectory#
Implement a basic trajectory class that performs linear interpolation between waypoints in a fixed time per segment, to demonstrate how to use
the Trajectory interface.
The
__init__()method sets up the trajectory with waypoints and computes the duration:def __init__( self, waypoints: np.ndarray, robot_joint_space: list[str], active_joints: list[str], time_per_segment: float = 1.0, ) -> None: """Initialize the linear trajectory. Args: waypoints: Array of shape (N, M) where N is number of waypoints and M is number of joints robot_joint_space: The full joint space of the robot active_joints: The joints controlled by this trajectory (must match waypoint columns) time_per_segment: Time to spend moving between each pair of waypoints (seconds) """ if waypoints.ndim != 2: raise ValueError("Waypoints must be a 2D array") if len(waypoints) < 2: raise ValueError("Must have at least two waypoints") if len(active_joints) != waypoints.shape[1]: raise ValueError("Number of active joints must match waypoint columns") self._waypoints = waypoints self._robot_joint_space = robot_joint_space self._active_joints = active_joints self._time_per_segment = time_per_segment # Duration is time per segment times number of segments num_segments = len(waypoints) - 1 self._duration = time_per_segment * num_segments
Implement the required
durationproperty, which returns the pre-computed duration:@property def duration(self) -> float: """Return the duration of the trajectory.""" return self._duration
Implement the required
get_target_state()method, which:finds which segment the time
timefalls intocomputes an interpolation factor
alphabetween 0 and 1linearly interpolates between the start and end waypoints of that segment
returns the interpolated
RobotState, or if the time is out of bounds, returnsNone
    def get_target_state(self, time: float) -> Optional[mg.RobotState]:
        """Return the target robot state at the given time.

        Performs linear interpolation between waypoints.

        Args:
            time: Time along the trajectory (0.0 to duration)

        Returns:
            RobotState with joint positions, or None if time is out of bounds
        """
        if time < 0.0 or time > self._duration:
            return None

        # Find which segment we're in
        segment_idx = int(time / self._time_per_segment)
        segment_idx = min(segment_idx, len(self._waypoints) - 2)  # Clamp to last segment

        # Compute interpolation factor within the segment
        segment_time = time - (segment_idx * self._time_per_segment)
        alpha = segment_time / self._time_per_segment
        alpha = np.clip(alpha, 0.0, 1.0)  # Clamp to [0, 1]

        # Linear interpolation between waypoints
        start_waypoint = self._waypoints[segment_idx]
        end_waypoint = self._waypoints[segment_idx + 1]
        target_positions = start_waypoint + alpha * (end_waypoint - start_waypoint)

        # Return RobotState with joint positions
        return mg.RobotState(
            joints=mg.JointState.from_name(
                robot_joint_space=self._robot_joint_space,
                positions=(self._active_joints, wp.from_numpy(target_positions)),
            )
        )
This is a basic example, but it shows that any trajectory class that implements duration and get_target_state() can be used
with the Motion Generation API.
For a real scenario, interpolate between waypoints using a minimal time, while respecting
velocity and acceleration limits using the built-in Path.to_minimal_time_joint_trajectory() method.
Using Path to Create Minimal-Time Trajectories#
The Path class provides a convenient way to work with discrete joint-space waypoints. You can convert a Path to a minimal-time
Trajectory using Path.to_minimal_time_joint_trajectory(), which takes as inputs:
max_velocities- Maximum joint velocities (one per active joint)max_accelerations- Maximum joint accelerations (one per active joint)robot_joint_space- The full joint space of the robotactive_joints- Which joints are controlled by this trajectory
and creates a Trajectory that moves through all waypoints in minimal time while respecting these constraints. The trajectory uses a trapezoidal velocity profile:
accelerate to maximum velocity, cruise at that velocity, then decelerate to a stop at the next waypoint.
Define your waypoints:
    # Define waypoints for the arm (7 joints)
    # These waypoints define a simple motion pattern
    waypoints = np.array(
        [
            [0.0, -1.3, 0.0, -2.87, 0.0, 2.0, 0.75],  # Default/home position
            [0.5, -0.8, 0.5, -2.0, 0.5, 1.5, 1.0],  # Waypoint 1
            [-0.5, -0.8, -0.5, -2.0, -0.5, 1.5, 0.5],  # Waypoint 2
            [0.0, -1.3, 0.0, -2.87, 0.0, 2.0, 0.75],  # Return to home
        ],
        dtype=np.float32,
    )
Create a Path and convert it to a minimal-time trajectory:
        # Create Path and convert to minimal-time trajectory
        path = mg.Path(waypoints)

        # Joint velocity and acceleration limits for Franka Panda
        # (not real values, just for demonstration)
        max_velocities = np.array([1.0, 1.0, 1.0, 1.0, 1.0, 1.0, 1.0])  # rad/s
        max_accelerations = np.array([0.5, 0.5, 0.5, 0.5, 0.5, 0.5, 0.5])  # rad/s²

        trajectory = path.to_minimal_time_joint_trajectory(
            max_velocities=max_velocities,
            max_accelerations=max_accelerations,
            robot_joint_space=robot_joint_space,
            active_joints=arm_joints,
        )
Following Trajectories with TrajectoryFollower#
The TrajectoryFollower is a controller that executes any trajectory. It’s a bridge between trajectory planning and real-time control.
The key insight is that TrajectoryFollower has no opinion about which trajectory type it follows. It works with any object
that implements the Trajectory interface.
The TrajectoryFollower Cycle#
The TrajectoryFollower follows a specific use cycle:
Set the trajectory - Call
set_trajectory()to provide the trajectory to followReset the controller - Call
reset()immediately before starting to set the start timeCall forward each step - In your control loop, call
forward()to get the desired state
Here’s how to use it:
    # Create TrajectoryFollower controller
    # The TrajectoryFollower has no opinion about which trajectory type it follows -
    # it works with any object that implements the Trajectory interface
    follower = mg.TrajectoryFollower()

    # Step 1: Set the trajectory
    # This sets the trajectory and clears the start time
    follower.set_trajectory(trajectory)

    # Get initial estimated state
    estimated_state = get_estimated_state_from_robot(robot, robot_joint_space)

    # Step 2: Reset the controller to set the start time
    # This MUST be called immediately before starting to follow the trajectory
    # The reset() method sets the start time to the current simulation time
    simulation_time = 0.0
    if not follower.reset(estimated_state, None, simulation_time):
        print("  ERROR: Failed to reset trajectory follower!")
        return
The set_trajectory() method sets the trajectory and clears the start time. The reset() method must be called immediately before starting
to follow the trajectory, because it sets the start time to the current simulation time. This allows the follower to compute how far along the
trajectory it should be at any given time.
The Complete Control Loop#
Here’s the complete control loop that brings everything together:
    dt = SimulationManager.get_physics_dt()
    num_steps = int((trajectory.duration + 1.0) / dt)  # Run slightly longer than trajectory duration

    for step in range(300):
        # stand still for a bit.
        simulation_app.update()

    for step in range(num_steps):
        # Update simulation
        simulation_app.update()
        simulation_time += dt

        # Get current estimated state
        estimated_state = get_estimated_state_from_robot(robot, robot_joint_space)

        # Call forward() to get desired state from trajectory
        # The TrajectoryFollower queries the trajectory at the current time
        # (relative to when reset() was called)
        desired_state = follower.forward(estimated_state, None, simulation_time)

        if desired_state is None:
            # Trajectory has ended or is out of bounds
            if step % 60 == 0:  # Print once per second
                print(f"  Trajectory ended at t={simulation_time:.3f}s")
            break

        # Apply desired state to robot
        apply_desired_state_to_robot(robot, desired_state)

        # Print status periodically
        if step % 120 == 0:  # Every 2 seconds
            if desired_state.joints is not None and desired_state.joints.positions is not None:
                positions = desired_state.joints.positions.numpy().flatten()
                print(f"\n  Step {step} (t={simulation_time:.3f}s):")
                print(f"    Desired positions: {positions[:3]}... (showing first 3 joints)")

    # Stop timeline
    timeline = omni.timeline.get_timeline_interface()
    timeline.pause()
The loop:
Gets the current estimated state from the robot
Calls
forward()to get the desired state from the trajectory (at the current time)Applies the desired state to the robot
Repeats every simulation step
The TrajectoryFollower queries the trajectory at the current time (relative to when reset() was called). If the trajectory has ended
or the time is out of bounds, forward() returns None.
Comparing Trajectory Types#
The example supports both trajectory types through the --linear flag. You can compare:
LinearTrajectory - Basic linear interpolation with equal time per segment. Easy to understand and implement, but doesn’t respect joint limits or optimize for time.
Minimal-Time Trajectory - Optimized trajectory that respects joint velocity and acceleration limits. More complex, but produces smoother motion that respects the robot’s physical constraints.
Both work identically with TrajectoryFollower to demonstrate the power of the unopinionated interface design.
Observing Trajectory Performance#
When you run the standalone example, you can observe how different trajectory types affect the robot’s motion. The motion should be slightly more jerky when you add the --linear argument, as the linear interpolation between waypoints doesn’t respect acceleration limits.
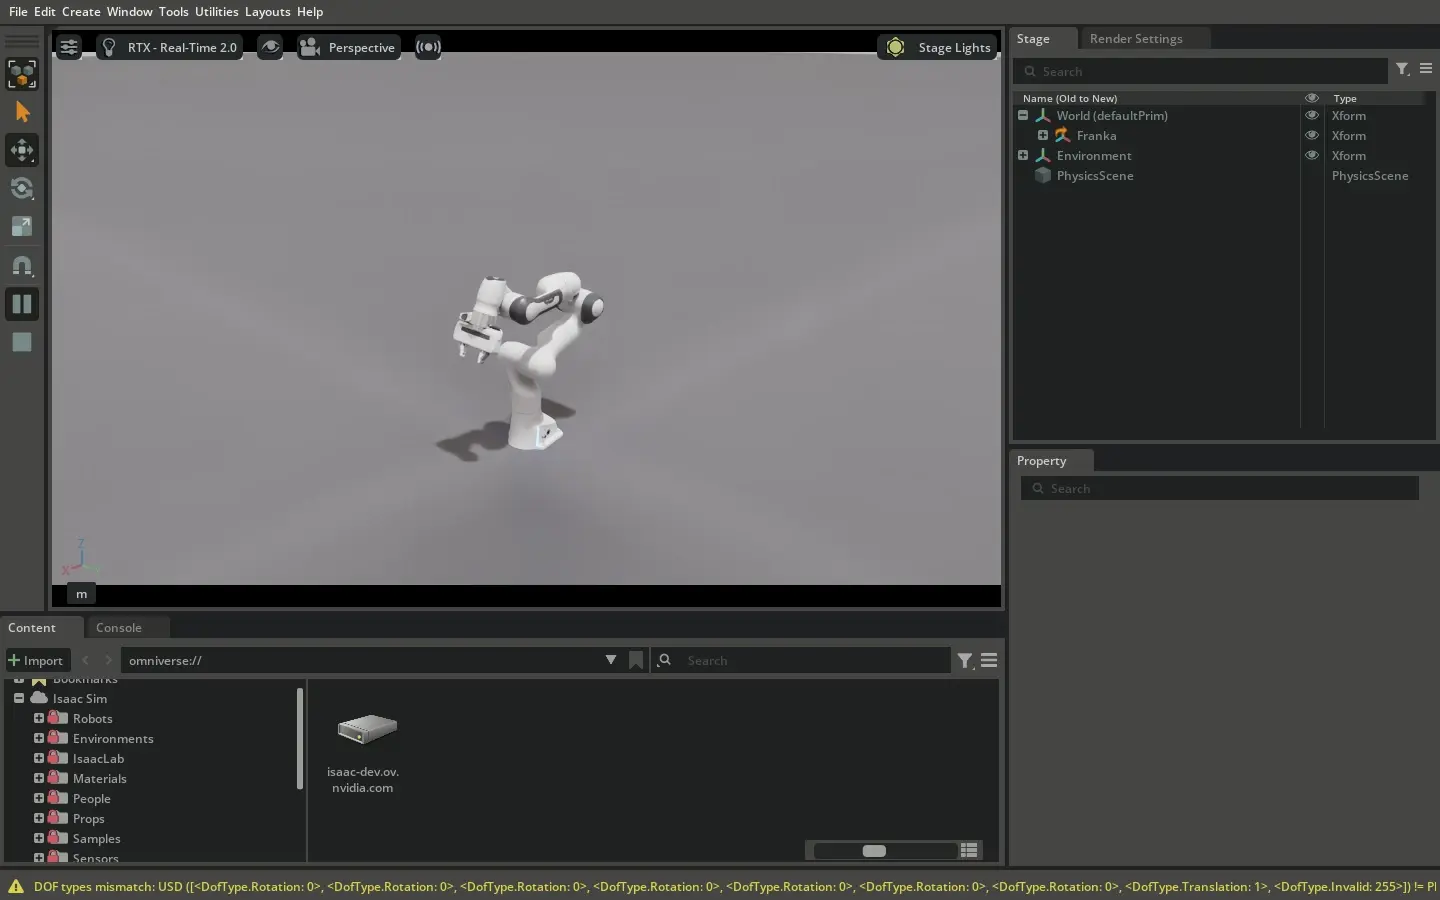
Running the minimal-time joint trajectory (trapezoidal velocity profile).#
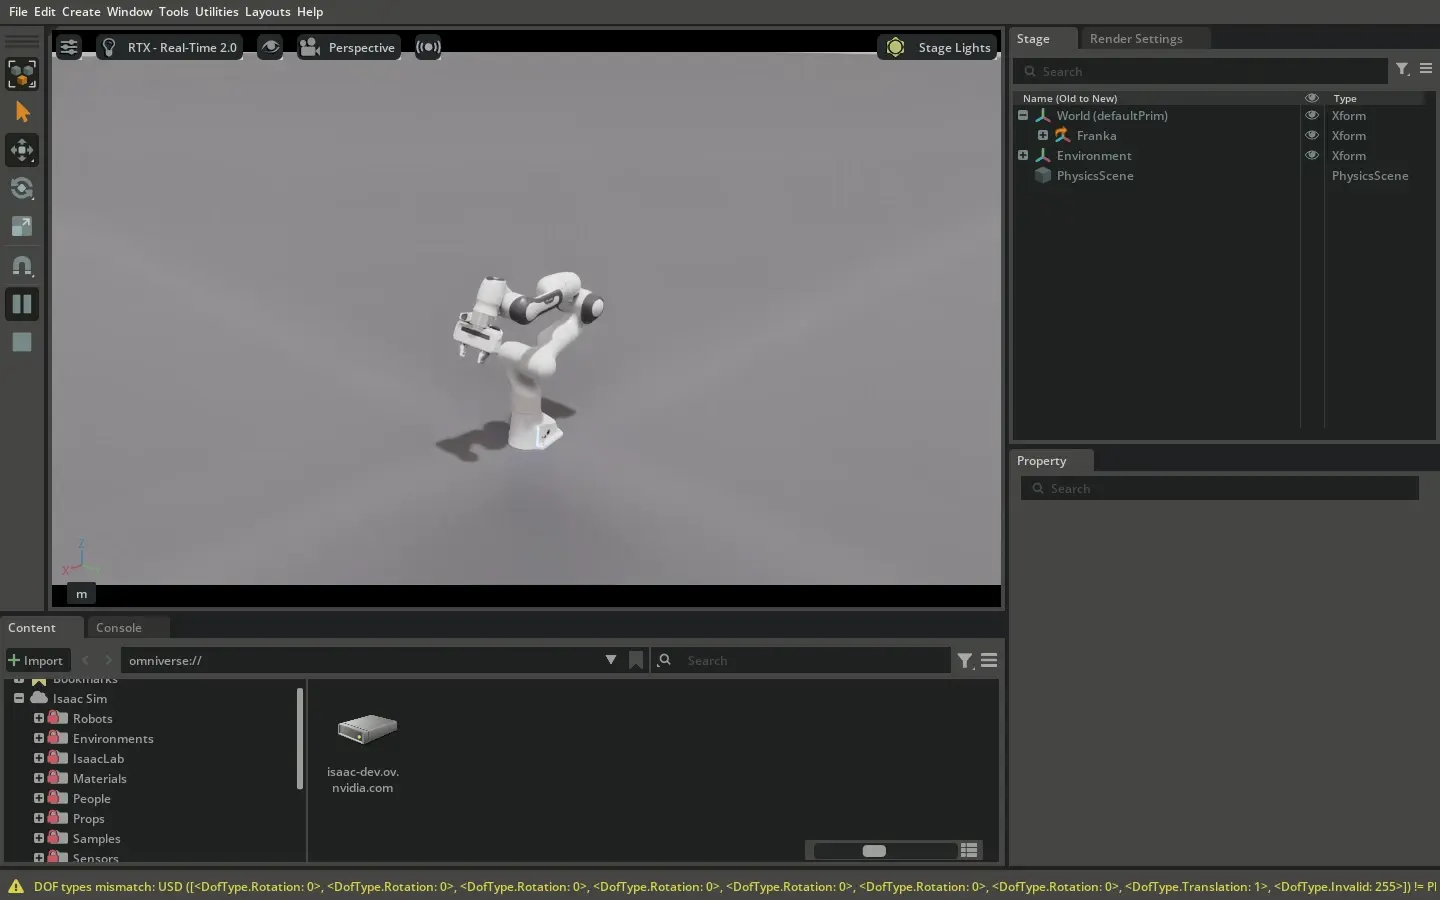
Running the linear joint trajectory (equal time per segment).#
Summary#
The trajectory system in the Motion Generation API is designed to be flexible and unopinionated:
Trajectory Interface - Simple interface (
duration+get_target_state()) that any trajectory can implementPath Class - Convenient way to work with discrete waypoints
Minimal-Time Conversion - Built-in conversion that respects joint limits
TrajectoryFollower -
TrajectoryFollowercontroller that executes any trajectory type
This design means you can:
Implement any trajectory planning algorithm (RRT, PRM, optimization-based)
Use any representation (joint-space, task-space, hybrid)
Use trajectories as a part of a larger controller composition
As long as your planner outputs something that meets the Trajectory interface, the TrajectoryFollower can execute it.
This separation of planning and execution gives you maximum flexibility.