Controllers and the RobotState#
This tutorial demonstrates building a complete robot controller using the Motion Generation API’s fundamental building blocks:
RobotStateclassBaseControllerinterface
The BaseController interface works for mobile robots, articulations, and combined systems such as humanoids. This tutorial creates a differential drive controller for a Jetbot, with optional composition of a low-pass filter controller for improved robustness in noisy conditions.
You’ll build a controller that:
Converts desired robot velocities into wheel commands
Applies filtering for smooth motion
Runs in a real-time simulation loop
All code examples come from the complete, runnable file mobile_robot_control_example.py:
# Mobile robot controller with differential drive and optional filtering
./python.sh standalone_examples/api/isaacsim.robot_motion.experimental.motion_generation/mobile_robot_control_example.py
Note
You can run this example with the arguments --noise and --filter to see how the Jetbot performs with different combinations of noise and filtering enabled.
For example, try running with neither argument to see performance under ideal conditions and no filtering. Try --noise to see the adverse effects on the controller
performance under noisy input conditions. Finally, try --filter --noise to see the controller’s robustness under noisy input conditions with filtering enabled:
# Run with noise and filtering enabled
./python.sh standalone_examples/api/isaacsim.robot_motion.experimental.motion_generation/mobile_robot_control_example.py --noise --filter
Understanding Control Spaces#
Before building controllers with the BaseController interface, you must understand RobotState and control spaces.
Control spaces are fundamental to how the Motion Generation API works, and getting them right from the start will prevent many common issues.
What Are Control Spaces?#
Control spaces represent the full shared space that all your controllers will use. They define the ordered list of names (joints, links, or sites) that all controllers working together must agree upon.
For example, if you’re designing a collection of 6 controllers that will all share control over nine joints, they all need to know the same ordering of those nine joints.
This shared ordering is the joint space (robot_joint_space). Similarly, if multiple controllers will control links or sites, they must share the same
link space (robot_link_space) or site space (robot_site_space).
When you create any part of a RobotState (joints, links, or sites), you must declare the space that those components exist in.
The space you provide must match across all controllers that will work together.
The Ideal Workflow#
The recommended workflow is to define your spaces first, before creating any controllers:
Define your joint space: Create an ordered list of all joint names that any controller might control
Define your link space: Create an ordered list of all link names whose poses you want to control
Define your site space: Create an ordered list of all site names (end effectors, tool frames) whose poses you want to control
Then, when you create all your controllers, use these same space definitions. This ensures all controllers share the same understanding of the robot’s structure and prevents errors when combining states from different controllers.
Control spaces are often obtained from your robot representation (for example, Articulation.dof_names for joint space). However, controllers don’t depend on these sources; they work with any ordered list of names, making them flexible and usable with any robot definition.
RobotState Structure#
RobotState is a unified representation that supports controlling different parts of the robot in different ways. A RobotState can contain:
joints- Joint positions, velocities, and efforts (joint-space control)sites- Poses and twists of specific points on the robot (site-space control)links- Poses and twists of robot links (link-space control)root- Pose and twist of the robot root (root-space control)
Each of these fields are optional; a controller can specify only the parts of the state it wants to control.
Creating RobotStates with Control Spaces#
You typically create RobotState objects using the component state classes:
JointState.from_name()- For joint-space control (requiresrobot_joint_space)SpatialState.from_name()- For link-space or site-space control (requiresrobot_link_spaceorrobot_site_space)RootState- For root-space control (no control space required, as there’s only one root)
When creating state components, you provide the full control space (the ordered list of all names) and specify which parts you want to control.
This allows you to create partial states; you can control only specific joints, links, or sites, and only the properties you need.
For example, with joints you might control some through position and others through velocity. To skip a control mode entirely, pass None.
Combining RobotStates#
The combine_robot_states() function lets you merge two RobotState objects together. This enables different
controllers to control different parts of the robot simultaneously.
For example, one controller might control the robot’s arm joints while another controls the gripper, and a third controls the base position.
The combine function will return None if the states cannot be combined. This only happens in two cases:
Two
RobotStateobjects try to define the same property of the same joint or frame (that is, both try to define the velocity of the same joint, or orientation of the same site).The defined control spaces don’t match (for example, defined and mismatching
robot_joint_spacedefinitions, defined and mismatchingrobot_link_spacedefinitions, defined and mismatchingrobot_site_spacedefinitions).
Defining your spaces first is critical. If controllers use different space definitions, their states cannot be combined.
The Controller Interface#
Next, you need to understand the BaseController interface. Controllers are central to the Motion Generation API.
They compute desired robot states based on the current state and optional setpoints.
Every controller in the Motion Generation API implements the BaseController interface, which defines two essential methods:
reset()- Initializes the controller to a safe starting state. Called one time, immediately before the controller starts running.forward()- Computes the desired robot state for the next time step. Called every time step with:the current clock time
the current estimated
RobotState, andan optional setpoint
RobotState(the goal).
The forward() method returns a RobotState representing the next desired state, or None if it cannot produce a valid output.
Controller Composition#
The API provides several convenient classes to compose controllers together in common patterns:
Parallel Controllers#
ParallelController runs multiple controllers simultaneously and combines their outputs. This is perfect when you want different controllers
to control different parts of the robot. The ParallelController automatically merges the outputs. If the controllers don’t try to control
the same joints or frames, their states are combined seamlessly.
Sequential Controllers#
SequentialController runs multiple controllers in sequence. The output of one controller becomes the setpoint for the next. This is useful
for filtering or processing controller outputs. For example, you might have a filter which smooths noisy input data, followed by a PID-like controller which drives the robot to the filtered input.
Controller Containers#
ControllerContainer allows you to switch between different controllers at runtime. This is useful for integrating with higher-level control systems such as state machines or behavior trees.
By packaging multiple controllers into a single container, you can create complex behaviors for manipulation tasks, or other tasks that require many phases.
The container automatically calls reset() on the new controller when switching.
Nesting Controllers#
Because all composition classes are themselves controllers, you can nest them to build complex control hierarchies. For example, you might
have a ParallelController containing a SequentialController and another controller, all wrapped in a ControllerContainer for runtime switching.
Building Our Mobile Robot Controller#
With the core concepts of control spaces, RobotState, and the BaseController interface, you can start building your mobile robot controller.
Starting with the core differential drive controller, add filtering, and put it all together in a complete control loop.
Defining the Control Space#
Following the ideal workflow, define your control space. For this mobile robot controller, you need to control the robot’s joints (the wheel joints).
Get the joint space from the robot articulation (for example, robot.dof_names). This robot_joint_space defines the ordered list of all joints in your robot.
All the controllers you create will use this same space definition, ensuring that they can work together and that their states can be combined.
To use this space when creating RobotState objects, you must create RobotState objects in two key places:
When reading the current state from the robot (joint-space)
When setting desired velocities for our robot (root-space)
To read the current robot state and create a RobotState:
def get_estimated_state_from_robot(robot: Articulation, robot_joint_space: list[str]) -> mg.RobotState:
    """Get the current estimated state of the robot.

    Args:
        robot: The robot articulation
        robot_joint_space: The full joint space of the robot

    Returns:
        RobotState representing the current robot state
    """
    # Get current joint positions, velocities, and efforts
    return mg.RobotState(
        joints=mg.JointState.from_name(
            robot_joint_space=robot_joint_space,
            positions=(robot_joint_space, robot.get_dof_positions()),
            velocities=(robot_joint_space, robot.get_dof_velocities()),
            efforts=(robot_joint_space, robot.get_dof_efforts()),
        )
    )
Notice that the full robot_joint_space and all joints with their positions, velocities, and efforts are specified. This creates a complete joint state that matches the robot’s current configuration.
To create a RobotState, that has the desired root state that is used to set the desired velocities for your mobile robot:
            setpoint_state = mg.RobotState(
                root=mg.RootState(
                    linear_velocity=wp.array([v_linear_command, 0.0, 0.0]),  # Forward velocity
                    angular_velocity=wp.array([0.0, 0.0, v_angular_command]),  # Yaw rate
                )
            )
This creates a RobotState with a desired root state (linear and angular velocities) and leaves the joints undefined.
Step 1: The Differential Drive Controller#
Your mobile robot uses a differential drive system, with two wheels that can be controlled independently. The first controller will convert the desired robot velocities (how fast we want the robot to move forward and turn) into individual wheel velocities. This is the core of your mobile robot controller.
Initialization: Parameterizing the Controller#
To parameterize the controller based on the geometry of our particular robot, the differential drive controller needs to know the wheel radius, the distance between wheels (wheel base), and optionally some speed limits. You also need to specify which joints control the left and right wheels:
    def __init__(
        self,
        robot_joint_space: list[str],
        wheel_radius: float,
        wheel_base: float,
    ) -> None:
        """Initialize the differential drive controller.

        Args:
            robot_joint_space: The full joint space of the robot
            wheel_radius: Radius of left and right wheels in meters
            wheel_base: Distance between left and right wheels in meters
        """
        self.robot_joint_space = robot_joint_space
        self.wheel_radius = wheel_radius
        self.wheel_base = wheel_base
        self.controlled_joints = ["left_wheel_joint", "right_wheel_joint"]
The reset() Method: Initializing the Controller#
The DifferentialDriveController is stateless, so we don’t actually need to do anything here. The reset() method returns True:
    def reset(
        self, estimated_state: mg.RobotState, setpoint_state: Optional[mg.RobotState], t: float, **kwargs: object
    ) -> bool:
        """Initialize the controller.

        The DifferentialDriveController is stateless, so we don't need to do anything here.
        """
        return True
The forward() Method: Computing Wheel Velocities#
The forward() method is where the controller does its work. To verify the inputs:
if there is no root state, it returns
Noneif the input joint state doesn’t use the same
robot_joint_spaceas the controller, it returnsNone.Otherwise, the wheel speeds are computed using differential drive kinematics and it returns the desired
RobotState:
    def forward(
        self, estimated_state: mg.RobotState, setpoint_state: Optional[mg.RobotState], t: float, **kwargs: object
    ) -> Optional[mg.RobotState]:
        """Compute desired wheel angular velocities from root velocity setpoint.

        Converts desired root linear and angular velocities to wheel angular velocities
        using differential drive kinematics:
            ω_R = (1/(2r)) * (2V + ωb)
            ω_L = (1/(2r)) * (2V - ωb)

        where ω is angular velocity (yaw rate), V is linear velocity, r is wheel radius,
        and b is wheel base.
        """
        # First, verify that the correct inputs are there
        # We need a setpoint root state. If there is no root state, we return None.
        if setpoint_state is None or setpoint_state.root is None:
            return None

        # If the input joint state doesn't use the same robot_joint_space, we return None.
        if estimated_state.joints is None or estimated_state.joints.robot_joint_space != self.robot_joint_space:
            return None

        root_state = setpoint_state.root

        # Get desired linear and angular velocities
        # Default to zero if not provided
        if root_state.linear_velocity is not None:
            v_linear = root_state.linear_velocity.numpy()[0]  # Forward velocity (x-axis)
        else:
            v_linear = 0.0

        if root_state.angular_velocity is not None:
            v_angular = root_state.angular_velocity.numpy()[2]  # Yaw rate (z-axis)
        else:
            v_angular = 0.0

        # Convert root velocities to wheel angular velocities using differential drive kinematics
        # ω_R = (1/(2r)) * (2V + ωb)
        # ω_L = (1/(2r)) * (2V - ωb)
        inv_denominator = 1.0 / (2.0 * self.wheel_radius)
        omega_left = ((2.0 * v_linear) - (v_angular * self.wheel_base)) * inv_denominator
        omega_right = ((2.0 * v_linear) + (v_angular * self.wheel_base)) * inv_denominator

        # Output velocity commands for both wheels
        return mg.RobotState(
            joints=mg.JointState.from_name(
                robot_joint_space=self.robot_joint_space,
                velocities=(
                    self.controlled_joints,
                    wp.array([omega_left, omega_right]),
                ),
            )
        )
The controller uses differential drive kinematics to convert root velocities to wheel velocities.
Step 2: Adding Smoothing with a Low-Pass Filter#
The differential drive controller works, but the wheel commands might be jerky if the input velocities change suddenly. To make your robot move more smoothly, add a low-pass filter controller that smooths the wheel velocity commands. This filter controller is generic and can be reused any time for joint filtering. The filter controller is not specific to differential drive controllers.
Initialization: Configuring the Filter#
The low-pass filter controller needs to know the robot’s joint space and the filter coefficient (alpha). The alpha parameter controls how much filtering is applied. Smaller values mean more filtering (smoother but slower response):
    def __init__(self, robot_joint_space: list[str], alpha: float = 0.1) -> None:
        """Initialize the low-pass filter controller.

        Args:
            robot_joint_space: The full joint space of the robot
            alpha: Low-pass filter coefficient (0 < alpha <= 1). Smaller values = more filtering.
        """
        self.robot_joint_space = robot_joint_space
        self.alpha = alpha

        # Internal state: filtered data array (shape: (3, N))
        self.filtered_data_array = None
The reset() Method: Initializing the Filter State#
You can reset the initial filter state to be exactly the underlying joint-data array from the estimated state. This prevents jerky motions in the robot. If the filter is initialized to match the exact state of the robot, then the robot will smoothly transition into following the filter as soon as it starts running:
    def reset(
        self, estimated_state: mg.RobotState, setpoint_state: Optional[mg.RobotState], t: float, **kwargs: object
    ) -> bool:
        """Initialize the controller.

        Resets the initial filter state to be exactly the underlying joint-data array from the estimated state.
        This prevents jerky motions - if the filter is initialized to match the exact state of the robot,
        then the robot will smoothly transition into following the filter as soon as it starts running.
        """
        # Validate joint spaces match
        if not self._validate_joint_spaces(estimated_state, setpoint_state):
            return False

        if estimated_state.joints is None:
            return False

        # Initialize filtered data array to match the estimated state's joint data array
        # This ensures smooth transition when the filter starts running
        self.filtered_data_array = wp.clone(estimated_state.joints.data_array)

        return True
The forward() Method: Applying the Filter#
The forward() method applies the low-pass filter to the entire underlying data array of the setpoint state, filtering all joint outputs (positions, velocities,
and efforts) simultaneously. If there is no setpoint state, it returns None:
    def forward(
        self, estimated_state: mg.RobotState, setpoint_state: Optional[mg.RobotState], t: float, **kwargs: object
    ) -> Optional[mg.RobotState]:
        """Compute filtered joint state.

        Applies low-pass filter to the entire data array of the setpoint state.
        Filters all joint outputs (position, velocity, effort) simultaneously.
        """
        # Validate joint spaces match
        if not self._validate_joint_spaces(estimated_state, setpoint_state):
            return None

        if self.filtered_data_array is None:
            return None

        # Get input data array from setpoint
        if setpoint_state is None or setpoint_state.joints is None:
            # No setpoint, return None
            return None

        input_joint_state = setpoint_state.joints
        input_data_array = input_joint_state.data_array
        input_valid_array = input_joint_state.valid_array

        # Apply low-pass filter to entire data array: filtered = alpha * input + (1 - alpha) * filtered
        input_data_np = input_data_array.numpy()
        filtered_data_np = self.filtered_data_array.numpy()
        filtered_data_np = self.alpha * input_data_np + (1 - self.alpha) * filtered_data_np
        self.filtered_data_array = wp.from_numpy(filtered_data_np, dtype=wp.float32)

        # Output filtered joint state with same valid array as input
        return mg.RobotState(
            joints=mg.JointState(
                robot_joint_space=self.robot_joint_space,
                data_array=self.filtered_data_array,
                valid_array=input_valid_array,
            )
        )
The filter controller applies a low-pass filter to the entire underlying data array, smoothing all joint outputs simultaneously.
Step 3: Composing the Controllers#
Now, combine your two controllers using SequentialController. The differential drive controller computes the wheel velocities,
and then the filter smooths them before they’re sent to the robot:
def differential_drive_control(
    robot: Articulation, robot_joint_space: list[str], add_noise: bool = False, use_filter: bool = False
) -> None:
    """Example: Differential drive controller tracking root velocity.

    Args:
        robot: The robot articulation
        robot_joint_space: The full joint space of the robot
        add_noise: If True, add noise to the root velocity setpoints
        use_filter: If True, wrap the differential controller with a low-pass filter
    """
    # Create differential drive controller
    # For Jetbot, adjust these parameters as needed
    differential_controller = DifferentialDriveController(
        robot_joint_space=robot_joint_space,
        wheel_radius=0.03,  # 3 cm wheel radius
        wheel_base=0.1125,  # 11.25 cm wheel base
    )

    # Optionally wrap with low-pass filter using SequentialController
    if use_filter:
        filter_controller = LowPassFilterController(
            robot_joint_space=robot_joint_space,
            alpha=0.01,  # Low-pass filter coefficient
        )
        # SequentialController: differential controller output becomes filter input
        controller = mg.SequentialController([differential_controller, filter_controller])
    else:
        controller = differential_controller

    # Run the control loop
    run_differential_control_loop(controller, robot, robot_joint_space, add_noise=add_noise)
Step 4: The Complete Control Loop#
Now we have all the pieces - the differential drive controller, the filter, and they’re composed together. The final step is to put it all together in a control loop that runs in real-time.
First, this is how we will apply the desired state to the robot:
def apply_desired_state_to_robot(robot: Articulation, desired_state: mg.RobotState) -> None:
    """Apply a desired RobotState to the robot.

    Args:
        robot: The robot articulation
        desired_state: The desired robot state to apply
    """
    if desired_state.joints is None:
        return

    joint_state = desired_state.joints

    # Apply positions if present
    if joint_state.positions is not None:
        robot.set_dof_position_targets(joint_state.positions, dof_indices=joint_state.position_indices)

    # Apply velocities if present
    if joint_state.velocities is not None:
        robot.set_dof_velocity_targets(joint_state.velocities, dof_indices=joint_state.velocity_indices)

    # Apply efforts if present
    if joint_state.efforts is not None:
        robot.set_dof_efforts(joint_state.efforts, dof_indices=joint_state.effort_indices)
And finally, here’s the complete control loop that brings everything together. We set the setpoint linear and angular
velocities (v_linear and v_angular) to be constant numbers, which should make the robot follow a circular path.
If the --noise argument is passed, we add noise to the setpoint velocities.
def run_differential_control_loop(
    controller: mg.BaseController,
    robot: Articulation,
    robot_joint_space: list[str],
    add_noise: bool = False,
    duration_seconds: float = 15.0,
) -> None:
    """Run a real-time control loop with a differential drive controller.

    This function provides root velocity setpoints (with optional noise) to the controller.

    Args:
        controller: The controller to run (differential drive, optionally wrapped with filter)
        robot: The robot articulation
        robot_joint_space: The full joint space of the robot
        add_noise: If True, add noise to the root velocity setpoints
        duration_seconds: How long to run the simulation
    """
    # Start timeline
    timeline = omni.timeline.get_timeline_interface()
    timeline.play()
    simulation_app.update()  # Allow physics to initialize

    # Get initial estimated state
    estimated_state = get_estimated_state_from_robot(robot, robot_joint_space)

    # Reset controller
    if not controller.reset(estimated_state, None, 0.0):
        return

    # Run simulation loop
    simulation_time = 0.0
    dt = SimulationManager.get_physics_dt()
    num_steps = int(duration_seconds / dt)

    # setpoint velocities:
    v_linear = 0.1  # m/s
    v_angular = 1.0  # rad/s

    # Noise parameters
    noise_std_linear = 0.1  # m/s
    noise_std_angular = 1.0  # rad/s
    for step in range(num_steps):
        # Update simulation
        simulation_app.update()
        simulation_time += dt

        # Get current estimated state
        estimated_state = get_estimated_state_from_robot(robot, robot_joint_space)

        if simulation_time > 2.0:

            # Add noise if requested
            v_linear_command = v_linear
            v_angular_command = v_angular
            if add_noise:
                v_linear_command += np.random.normal(0.0, noise_std_linear)
                v_angular_command += np.random.normal(0.0, noise_std_angular)

            # <start-create-robotstate-root-space-snippet>
            setpoint_state = mg.RobotState(
                root=mg.RootState(
                    linear_velocity=wp.array([v_linear_command, 0.0, 0.0]),  # Forward velocity
                    angular_velocity=wp.array([0.0, 0.0, v_angular_command]),  # Yaw rate
                )
            )
            # <end-create-robotstate-root-space-snippet>
        else:
            setpoint_state = None  # No setpoint for first 2 seconds (robot comes to stop)

        # Run controller
        desired_state = controller.forward(estimated_state, setpoint_state, simulation_time)

        # Apply desired state to robot
        if desired_state is not None:
            apply_desired_state_to_robot(robot, desired_state)

    # Stop timeline
    timeline.pause()
The loop:
Gets the current estimated state from the robot
Creates a root velocity setpoint (linear and angular velocities)
Calls the controller’s
forward()methodApplies the desired state to the robot
Repeats every simulation step
You’ve now built a complete mobile robot controller from the ground up, using RobotState to represent robot states and the BaseController interface to compute desired commands.
The controller converts high-level velocity commands into smooth wheel motions, demonstrating how the Motion Generation
API’s concepts work together in practice.
Observing the Controller Performance#
When you run the standalone example, you can observe how the controller performs under different conditions.
The motion becomes jerky when you add the --noise argument, as the noisy input affects the controller’s ability to produce
smooth commands. However, when you add both --noise and --filter arguments, the motion becomes smooth again,
demonstrating how the low-pass filter controller rejects the high-frequency noise.

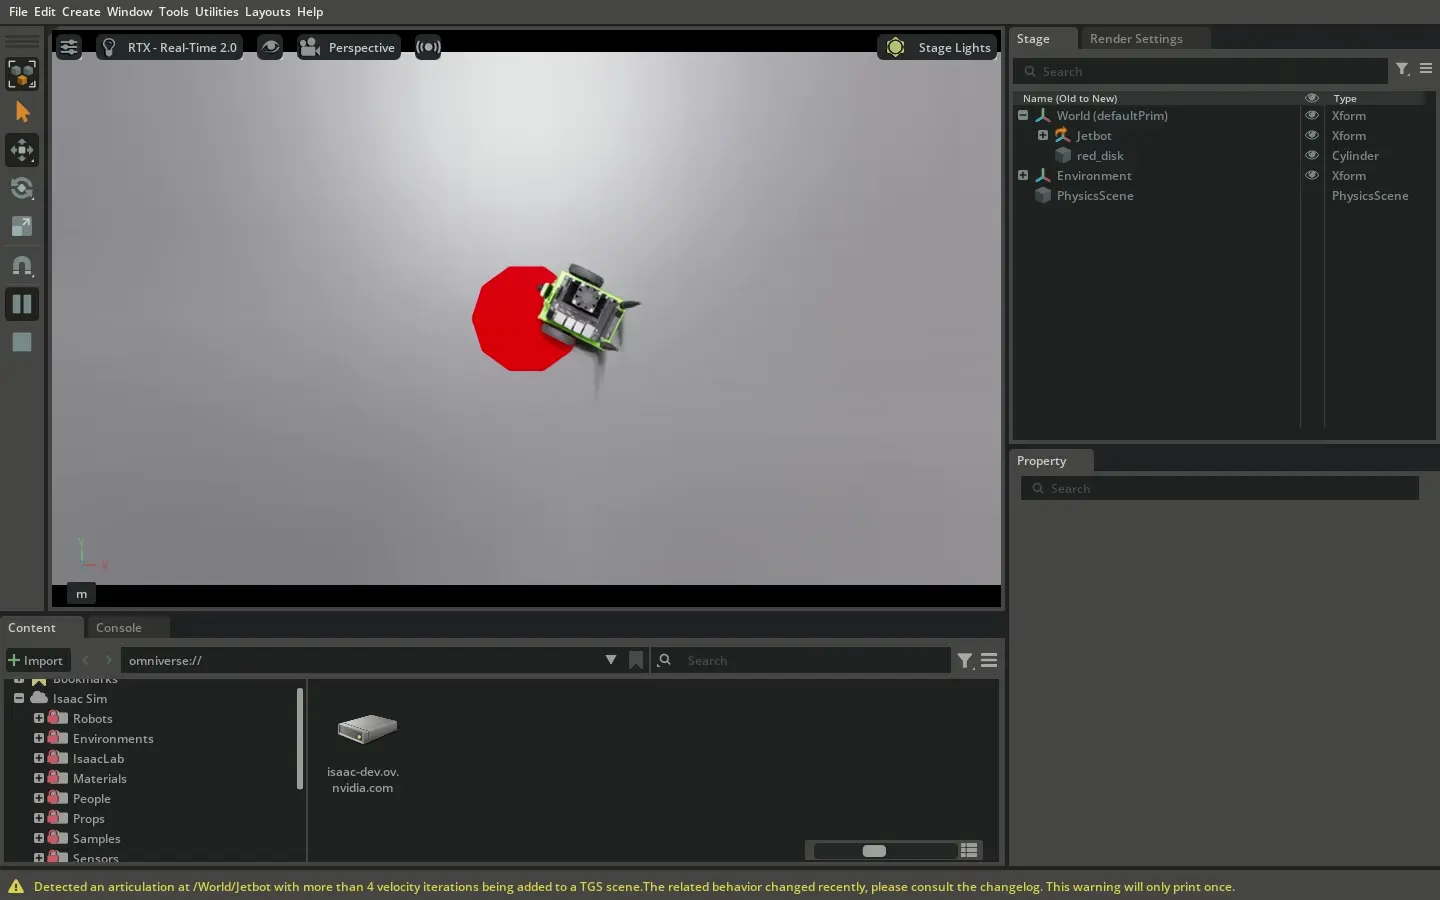
Running the controller with no noise and no filtering.#
Running the controller with noise and no filtering.#

Running the controller with noise and filtering.#
Next Steps#
See detailed examples of the Path and Trajectory interfaces and the TrajectoryFollower controller:
Trajectory Planning and Execution - Running trajectories with the Trajectory interface