使用 Isaac Sim Pip 包安装#
以下步骤首先从pip安装Isaac Sim,然后从源代码安装Isaac Lab。
注意
使用 pip 安装 Isaac Sim 需要 GLIBC 2.35+ 版本兼容性。要检查系统上的 GLIBC 版本,请使用命令 ldd --version 。
这可能会在某些Linux发行版上引起兼容性问题。例如,Ubuntu 20.04 LTS 默认使用 GLIBC 2.31。如果遇到兼容性问题,建议采用 Isaac Sim 二进制安装 的安装方法。
备注
如果你计划稍后 设置 Visual Studio Code ,我们建议按照 Isaac Sim 二进制安装 方法进行。
安装 Isaac Sim#
从 Isaac Sim 4.0 发布开始,可以使用 pip 安装 Isaac Sim。这种方法使安装Isaac Sim变得更加容易,而不需要下载Isaac Sim二进制文件。如果遇到任何问题,请将其报告给 Isaac Sim 论坛 。
注意
在 Windows 上,可能需要 启用长路径支持 以避免由于操作系统限制导致的安装错误。
准备一个Python环境#
强烈推荐 创建一个专用的Python环境。它有助于:
避免与系统Python 或其他安装在您的计算机上的项目发生冲突。
保持依赖项隔离,以便包升级或在其他项目中进行实验不会破坏Isaac Sim。
轻松管理多个环境,用于安装了不同版本依赖项的设置。
简化可重现性 — 环境中仅包含当前项目所需的软件包,使得更容易与同事共享设置或在不同的计算机上运行。
您可以选择不同的软件包管理器来创建虚拟环境。
UV:一种现代、快速和安全的Python软件包管理器。
Conda:一个跨平台、与语言无关的Python软件包管理器。
venv:用于在Python中创建虚拟环境的标准库。
小心
虚拟环境的Python版本必须与Isaac Sim的Python版本匹配。
对于Isaac Sim 5.X,所需的Python版本为3.11。
对于Isaac Sim 4.X,所需的Python版本为3.10。
使用不同的Python版本将导致在运行Isaac Lab时发生错误。
下面的说明适用于需要Python 3.11的Isaac Sim 5.X。如果您希望安装Isaac Sim 4.5,请相应修改说明以使用Python 3.10。
使用其中一种软件包管理器创建虚拟环境:
要安装 conda,请按照 这里 的说明进行操作。您可以使用以下命令创建 Isaac Lab 环境。
我们建议使用 Miniconda ,因为它是一个轻量级且资源高效的环境管理系统。
conda create -n env_isaaclab python=3.11
conda activate env_isaaclab
要使用标准库创建虚拟环境,您可以使用以下命令:
# create a virtual environment named env_isaaclab with python3.11
python3.11 -m venv env_isaaclab
# activate the virtual environment
source env_isaaclab/bin/activate
:: create a virtual environment named env_isaaclab with python3.11
python3.11 -m venv env_isaaclab
:: activate the virtual environment
env_isaaclab\Scripts\activate
要安装
uv,请按照 这里 的说明进行操作。备注
由
uv venv创建的虚拟环境 不包含pip。由于 Isaac Lab 安装需要pip,请在激活环境后手动安装它。您可以使用以下命令创建 Isaac Lab 环境:
# create a virtual environment named env_isaaclab with python3.11 and pip
uv venv --python 3.11 --seed env_isaaclab
# activate the virtual environment
source env_isaaclab/bin/activate
:: create a virtual environment named env_isaaclab with python3.11 and pip
uv venv --python 3.11 --seed env_isaaclab
:: activate the virtual environment
env_isaaclab\Scripts\activate
确保安装了最新版本的pip。要更新pip,请在虚拟环境内运行以下命令:
pip install --upgrade pip
python -m pip install --upgrade pip
安装 Isaac Sim#
备注
如果您使用UV创建了虚拟环境,请在以下命令中将 pip 替换为 uv pip 。
安装 Isaac Sim pip 包。
pip install "isaacsim[all,extscache]==5.1.0" --extra-index-url https://pypi.nvidia.com
安装与您的系统架构匹配的支持 CUDA 的 PyTorch 构建:
pip install -U torch==2.7.0 torchvision==0.22.0 --index-url https://download.pytorch.org/whl/cu128
pip install -U torch==2.7.0 torchvision==0.22.0 --index-url https://download.pytorch.org/whl/cu128
pip install -U torch==2.9.0 torchvision==0.24.0 --index-url https://download.pytorch.org/whl/cu130
备注
在 aarch64 上安装 Isaac Lab 后,您可能会遇到如下警告:
ERROR: ld.so: object '...torch.libs/libgomp-XXXX.so.1.0.0' cannot be preloaded: ignored.
当系统和 PyTorch
libgomp(GNU OpenMP)库都被预加载时,会发生这种情况。Isaac Sim 需要 系统 OpenMP 运行时,而 PyTorch 有时会捆绑自己的版本。要解决此问题,请取消设置任何现有的
LD_PRELOAD并将其设置为仅使用系统库:unset LD_PRELOAD export LD_PRELOAD="$LD_PRELOAD:/lib/aarch64-linux-gnu/libgomp.so.1"
这确保为 Isaac Sim 和 Isaac Lab 都预加载正确的
libgomp库,消除运行时的预加载警告。
验证 Isaac Sim 安装#
确保你的虚拟环境已激活(如果适用)
检查仿真器是否按预期运行:
# note: you can pass the argument "--help" to see all arguments possible.
isaacsim
可以使用特定的经验文件运行,运行:
# experience files can be absolute path, or relative path searched in isaacsim/apps or omni/apps
isaacsim isaacsim.exp.full.kit
备注
首次运行 Isaac Sim 时,将从注册表中提取所有相关扩展。这个过程可能需要多达 10 分钟,在每个体验文件的首次运行时是必需的。扩展被提取后,使用相同的体验文件进行连续运行时将使用缓存的扩展。
注意
首次运行将提示用户接受NVIDIA Omniverse许可协议。要接受 EULA,请在下面的消息提示时回复 Yes :
By installing or using Isaac Sim, I agree to the terms of NVIDIA OMNIVERSE LICENSE AGREEMENT (EULA)
in https://docs.isaacsim.omniverse.nvidia.com/latest/common/NVIDIA_Omniverse_License_Agreement.html

Do you accept the EULA? (Yes/No): Yes
如果仿真器在按上述说明进行操作时无法运行或崩溃,则意味着某些配置不正确。要进行调试和故障排除,请查看 Isaac Sim 文档 和 Isaac Sim Forums 。
安装 Isaac Lab#
克隆 Isaac Lab#
备注
我们建议制作一个 fork Isaac Lab 仓库来贡献项目,但这不是使用框架的必要条件。如果您制作了一个 fork,请在以下说明中用您的用户名替换 isaac-sim 。
将 Isaac Lab 仓库克隆到您项目的工作空间:
git clone git@github.com:isaac-sim/IsaacLab.git
git clone https://github.com/isaac-sim/IsaacLab.git
我们提供一个辅助可执行文件 isaaclab.sh ,提供管理扩展的实用工具:
./isaaclab.sh --help

usage: isaaclab.sh [-h] [-i] [-f] [-p] [-s] [-t] [-o] [-v] [-d] [-n] [-c] -- Utility to manage Isaac Lab.

optional arguments:
   -h, --help           Display the help content.
   -i, --install [LIB]  Install the extensions inside Isaac Lab and learning frameworks (rl_games, rsl_rl, sb3, skrl) as extra dependencies. Default is 'all'.
   -f, --format         Run pre-commit to format the code and check lints.
   -p, --python         Run the python executable provided by Isaac Sim or virtual environment (if active).
   -s, --sim            Run the simulator executable (isaac-sim.sh) provided by Isaac Sim.
   -t, --test           Run all python pytest tests.
   -o, --docker         Run the docker container helper script (docker/container.sh).
   -v, --vscode         Generate the VSCode settings file from template.
   -d, --docs           Build the documentation from source using sphinx.
   -n, --new            Create a new external project or internal task from template.
   -c, --conda [NAME]   Create the conda environment for Isaac Lab. Default name is 'env_isaaclab'.
   -u, --uv [NAME]      Create the uv environment for Isaac Lab. Default name is 'env_isaaclab'.
isaaclab.bat --help

usage: isaaclab.bat [-h] [-i] [-f] [-p] [-s] [-v] [-d] [-n] [-c] -- Utility to manage Isaac Lab.

optional arguments:
   -h, --help           Display the help content.
   -i, --install [LIB]  Install the extensions inside Isaac Lab and learning frameworks (rl_games, rsl_rl, sb3, skrl) as extra dependencies. Default is 'all'.
   -f, --format         Run pre-commit to format the code and check lints.
   -p, --python         Run the python executable provided by Isaac Sim or virtual environment (if active).
   -s, --sim            Run the simulator executable (isaac-sim.bat) provided by Isaac Sim.
   -t, --test           Run all python pytest tests.
   -v, --vscode         Generate the VSCode settings file from template.
   -d, --docs           Build the documentation from source using sphinx.
   -n, --new            Create a new external project or internal task from template.
   -c, --conda [NAME]   Create the conda environment for Isaac Lab. Default name is 'env_isaaclab'.
   -u, --uv [NAME]      Create the uv environment for Isaac Lab. Default name is 'env_isaaclab'.
安装#
使用
apt安装依赖项(仅在 Linux 上):# these dependency are needed by robomimic which is not available on Windows sudo apt install cmake build-essential
运行安装命令,遍历
source目录中的所有扩展,并使用 pip(带有--editable标志)进行安装:./isaaclab.sh --install # or "./isaaclab.sh -i"
isaaclab.bat --install :: or "isaaclab.bat -i"有效选项为
rl_games、rsl_rl、sb3、skrl、robomimic、none。如果您只想安装特定框架,请将框架的名称作为参数传递。例如,要仅安装
rl_games框架,您可以运行./isaaclab.sh --install rl_games # or "./isaaclab.sh -i rl_games"
isaaclab.bat --install rl_games :: or "isaaclab.bat -i rl_games"有效选项是
all,rl_games,rsl_rl,sb3,skrl,robomimic, 和none。如果传递了none,则不会安装任何学习框架。
验证 Isaac Lab 安装#
要验证安装是否成功,请从存储库的顶部运行以下命令:
# Option 1: Using the isaaclab.sh executable
# note: this works for both the bundled python and the virtual environment
./isaaclab.sh -p scripts/tutorials/00_sim/create_empty.py

# Option 2: Using python in your virtual environment
python scripts/tutorials/00_sim/create_empty.py
:: Option 1: Using the isaaclab.bat executable
:: note: this works for both the bundled python and the virtual environment
isaaclab.bat -p scripts\tutorials\00_sim\create_empty.py

:: Option 2: Using python in your virtual environment
python scripts\tutorials\00_sim\create_empty.py
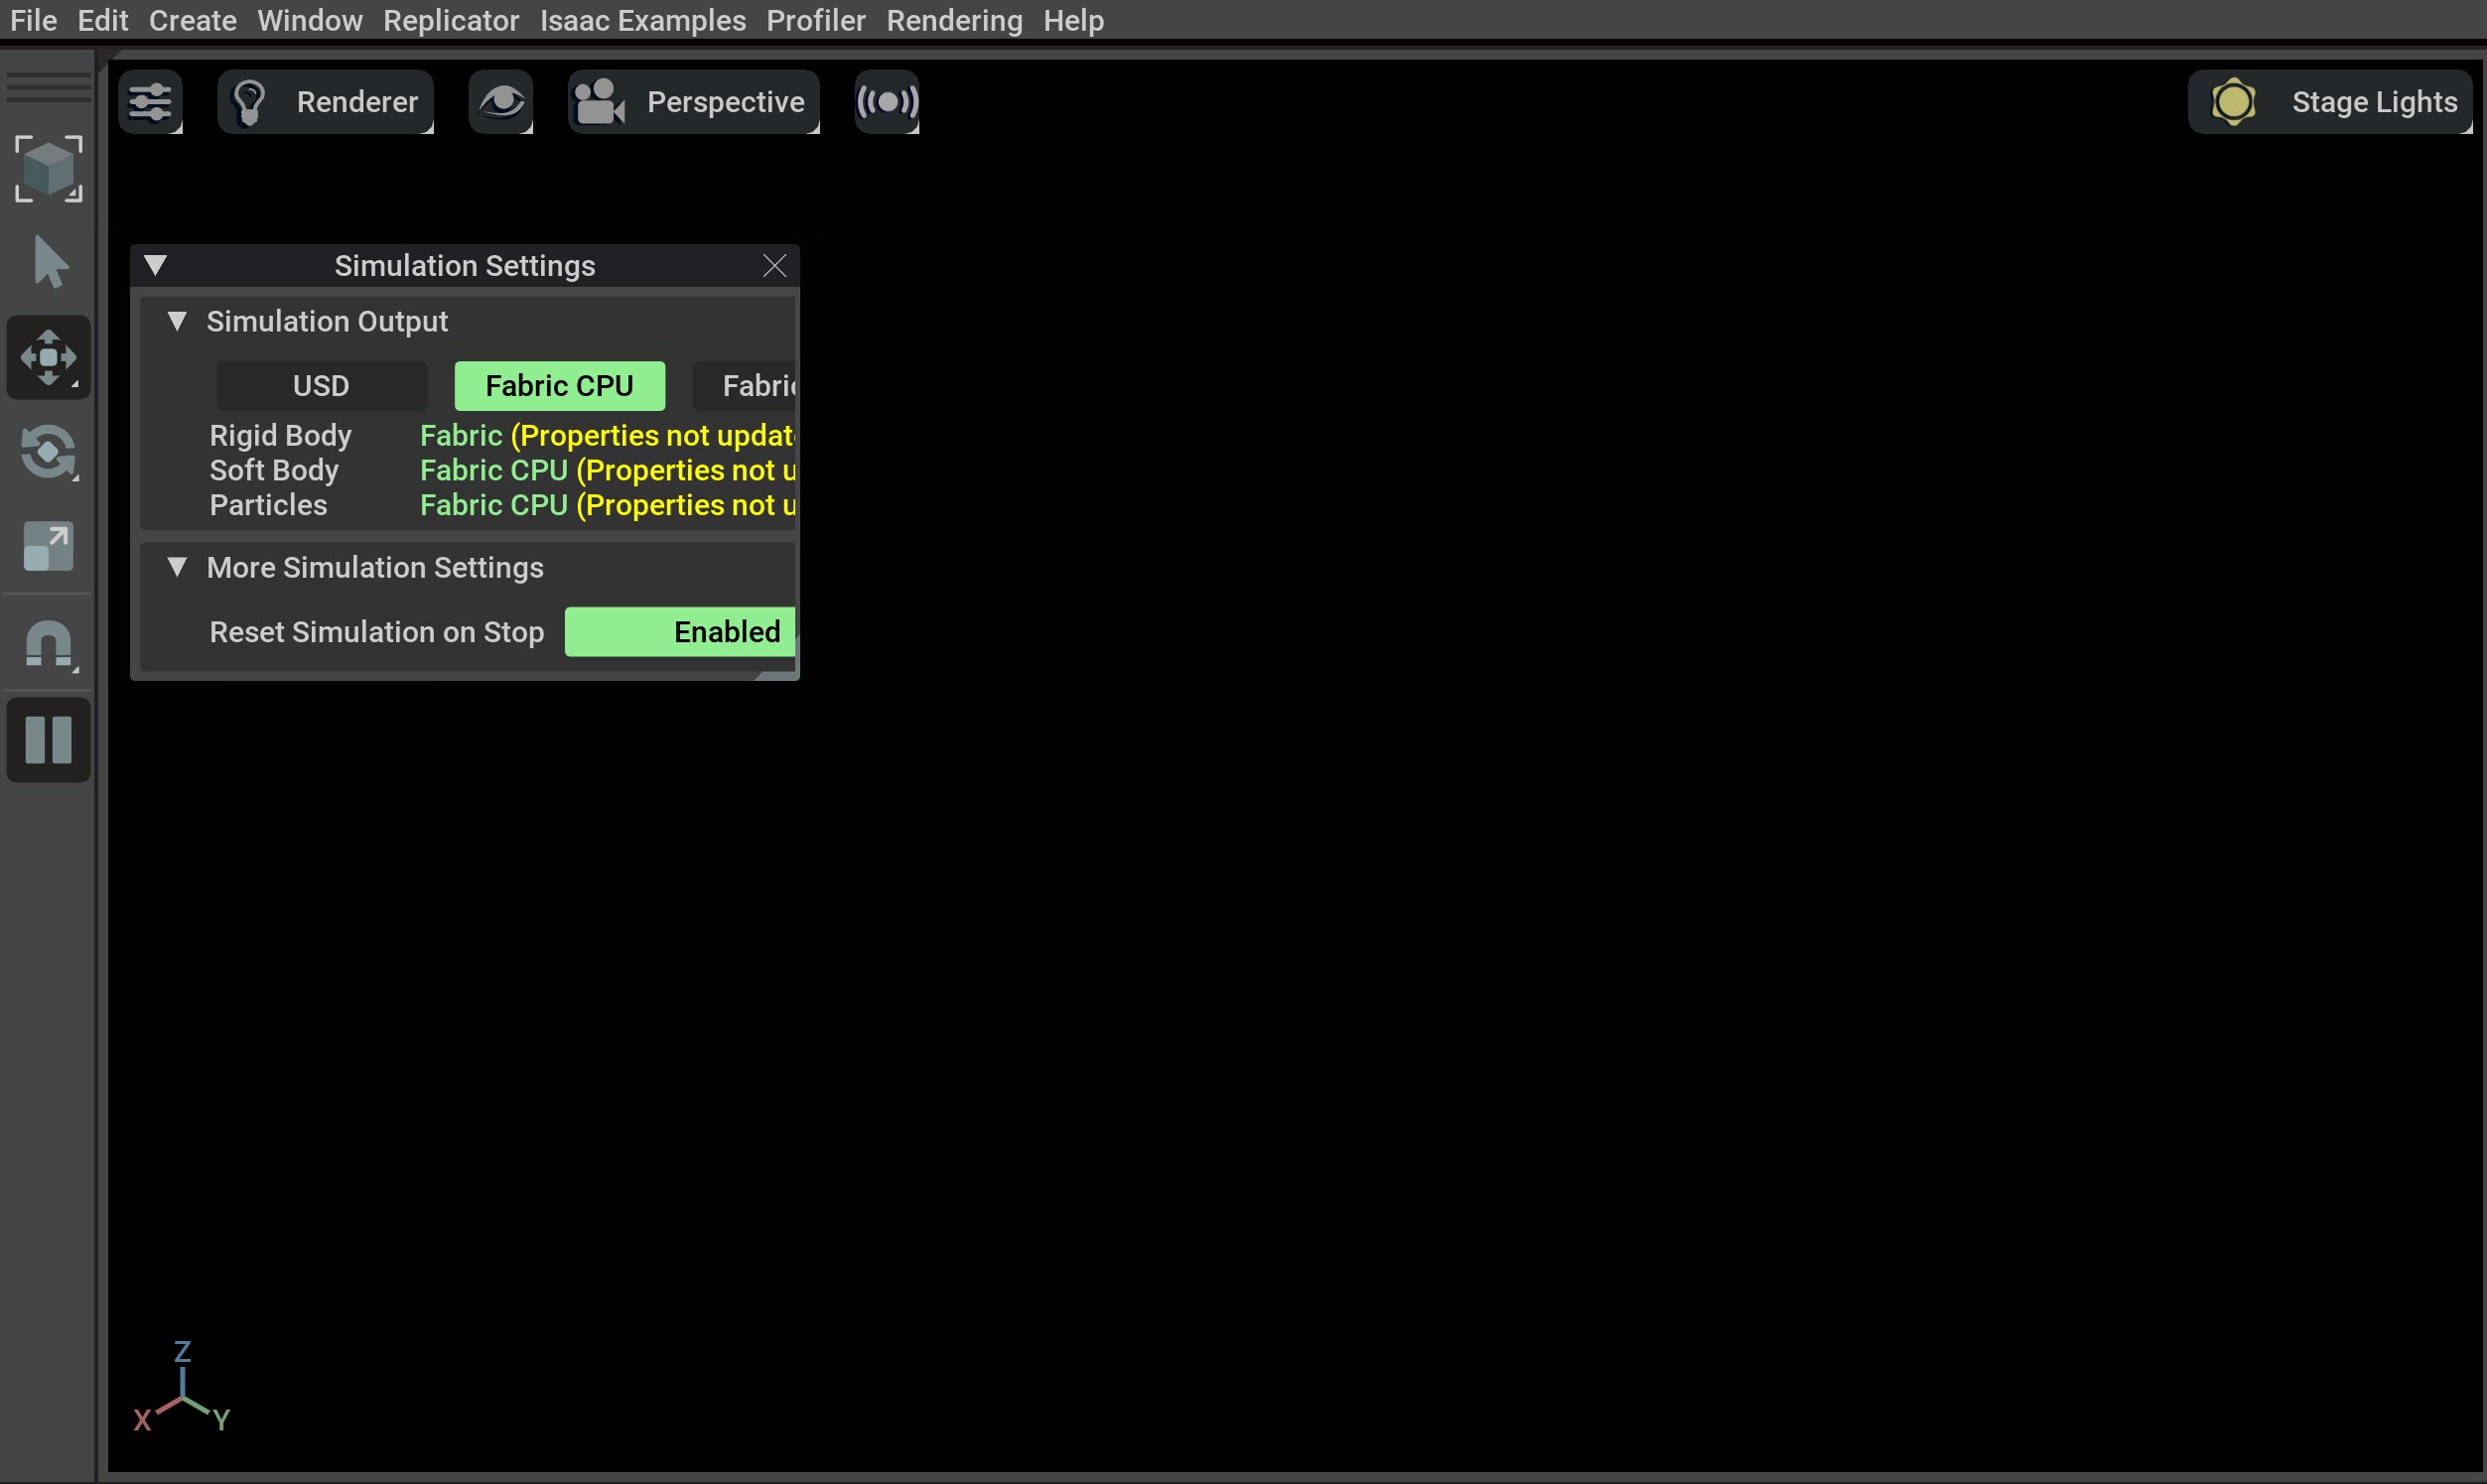
上述命令应启动仿真器,并显示一个带黑色视口的窗口。你可以通过在终端上按下 Ctrl+C 来退出脚本。在 Windows 机器上,请从命令提示符终止该进程,方法是按下 Ctrl+Break 或 Ctrl+fn+B 。

如果你看到这个,那么安装成功了! 🎉
备注
如果您看到错误 ModuleNotFoundError: No module named 'isaacsim' ,请确保虚拟环境已激活,并且已执行 source _isaac_sim/setup_conda_env.sh (对于uv也是如此)。
训练一个机器人!#
现在你可以通过强化学习使用 Isaac Lab 来训练机器人了!使用预定义的工作流程和我们的 功能齐全 机器人任务是使用 Isaac Lab 的最快方式。执行以下命令,快速训练一只蚂蚁走路!我们建议添加 --headless 以加速训练。
./isaaclab.sh -p scripts/reinforcement_learning/rsl_rl/train.py --task=Isaac-Ant-v0 --headless
isaaclab.bat -p scripts/reinforcement_learning/rsl_rl/train.py --task=Isaac-Ant-v0 --headless
... 或者一只机器狗!
./isaaclab.sh -p scripts/reinforcement_learning/rsl_rl/train.py --task=Isaac-Velocity-Rough-Anymal-C-v0 --headless
isaaclab.bat -p scripts/reinforcement_learning/rsl_rl/train.py --task=Isaac-Velocity-Rough-Anymal-C-v0 --headless
Isaac Lab 提供了您需要的工具,以创建适合您项目需求的 任务 和 工作流。请查看我们的 操作指南 指南,如 Adding your own learning Library 或 Wrapping Environments 了解详细信息。

