在使用Visual Studio Code前的设置#
这是可选的。您不需要使用 VScode 来使用 Isaac Lab。
Visual Studio Code 已证明是开发 Isaac Lab 的一个宝贵工具。Isaac Lab 仓库包含了用于设置开发环境的 VSCode 文件。这些文件包含在 .vscode 目录中,并包括以下文件:
.vscode
├── tools
│   ├── launch.template.json
│   ├── settings.template.json
│   └── setup_vscode.py
├── extensions.json
├── launch.json  # <- this is generated by setup_vscode.py
├── settings.json  # <- this is generated by setup_vscode.py
└── tasks.json
注意
以下关于设置 Visual Studio Code 的说明仅适用于 Isaac Sim 二进制安装 ,而不适用于 Pip 安装 。
要设置 IDE,请按照以下说明操作:
打开
IsaacLab目录在Visual Studio Code IDE。运行 VSCode Tasks ,通过按下
Ctrl+Shift+P,选择Tasks: Run Task并在下拉菜单中运行setup_python_env。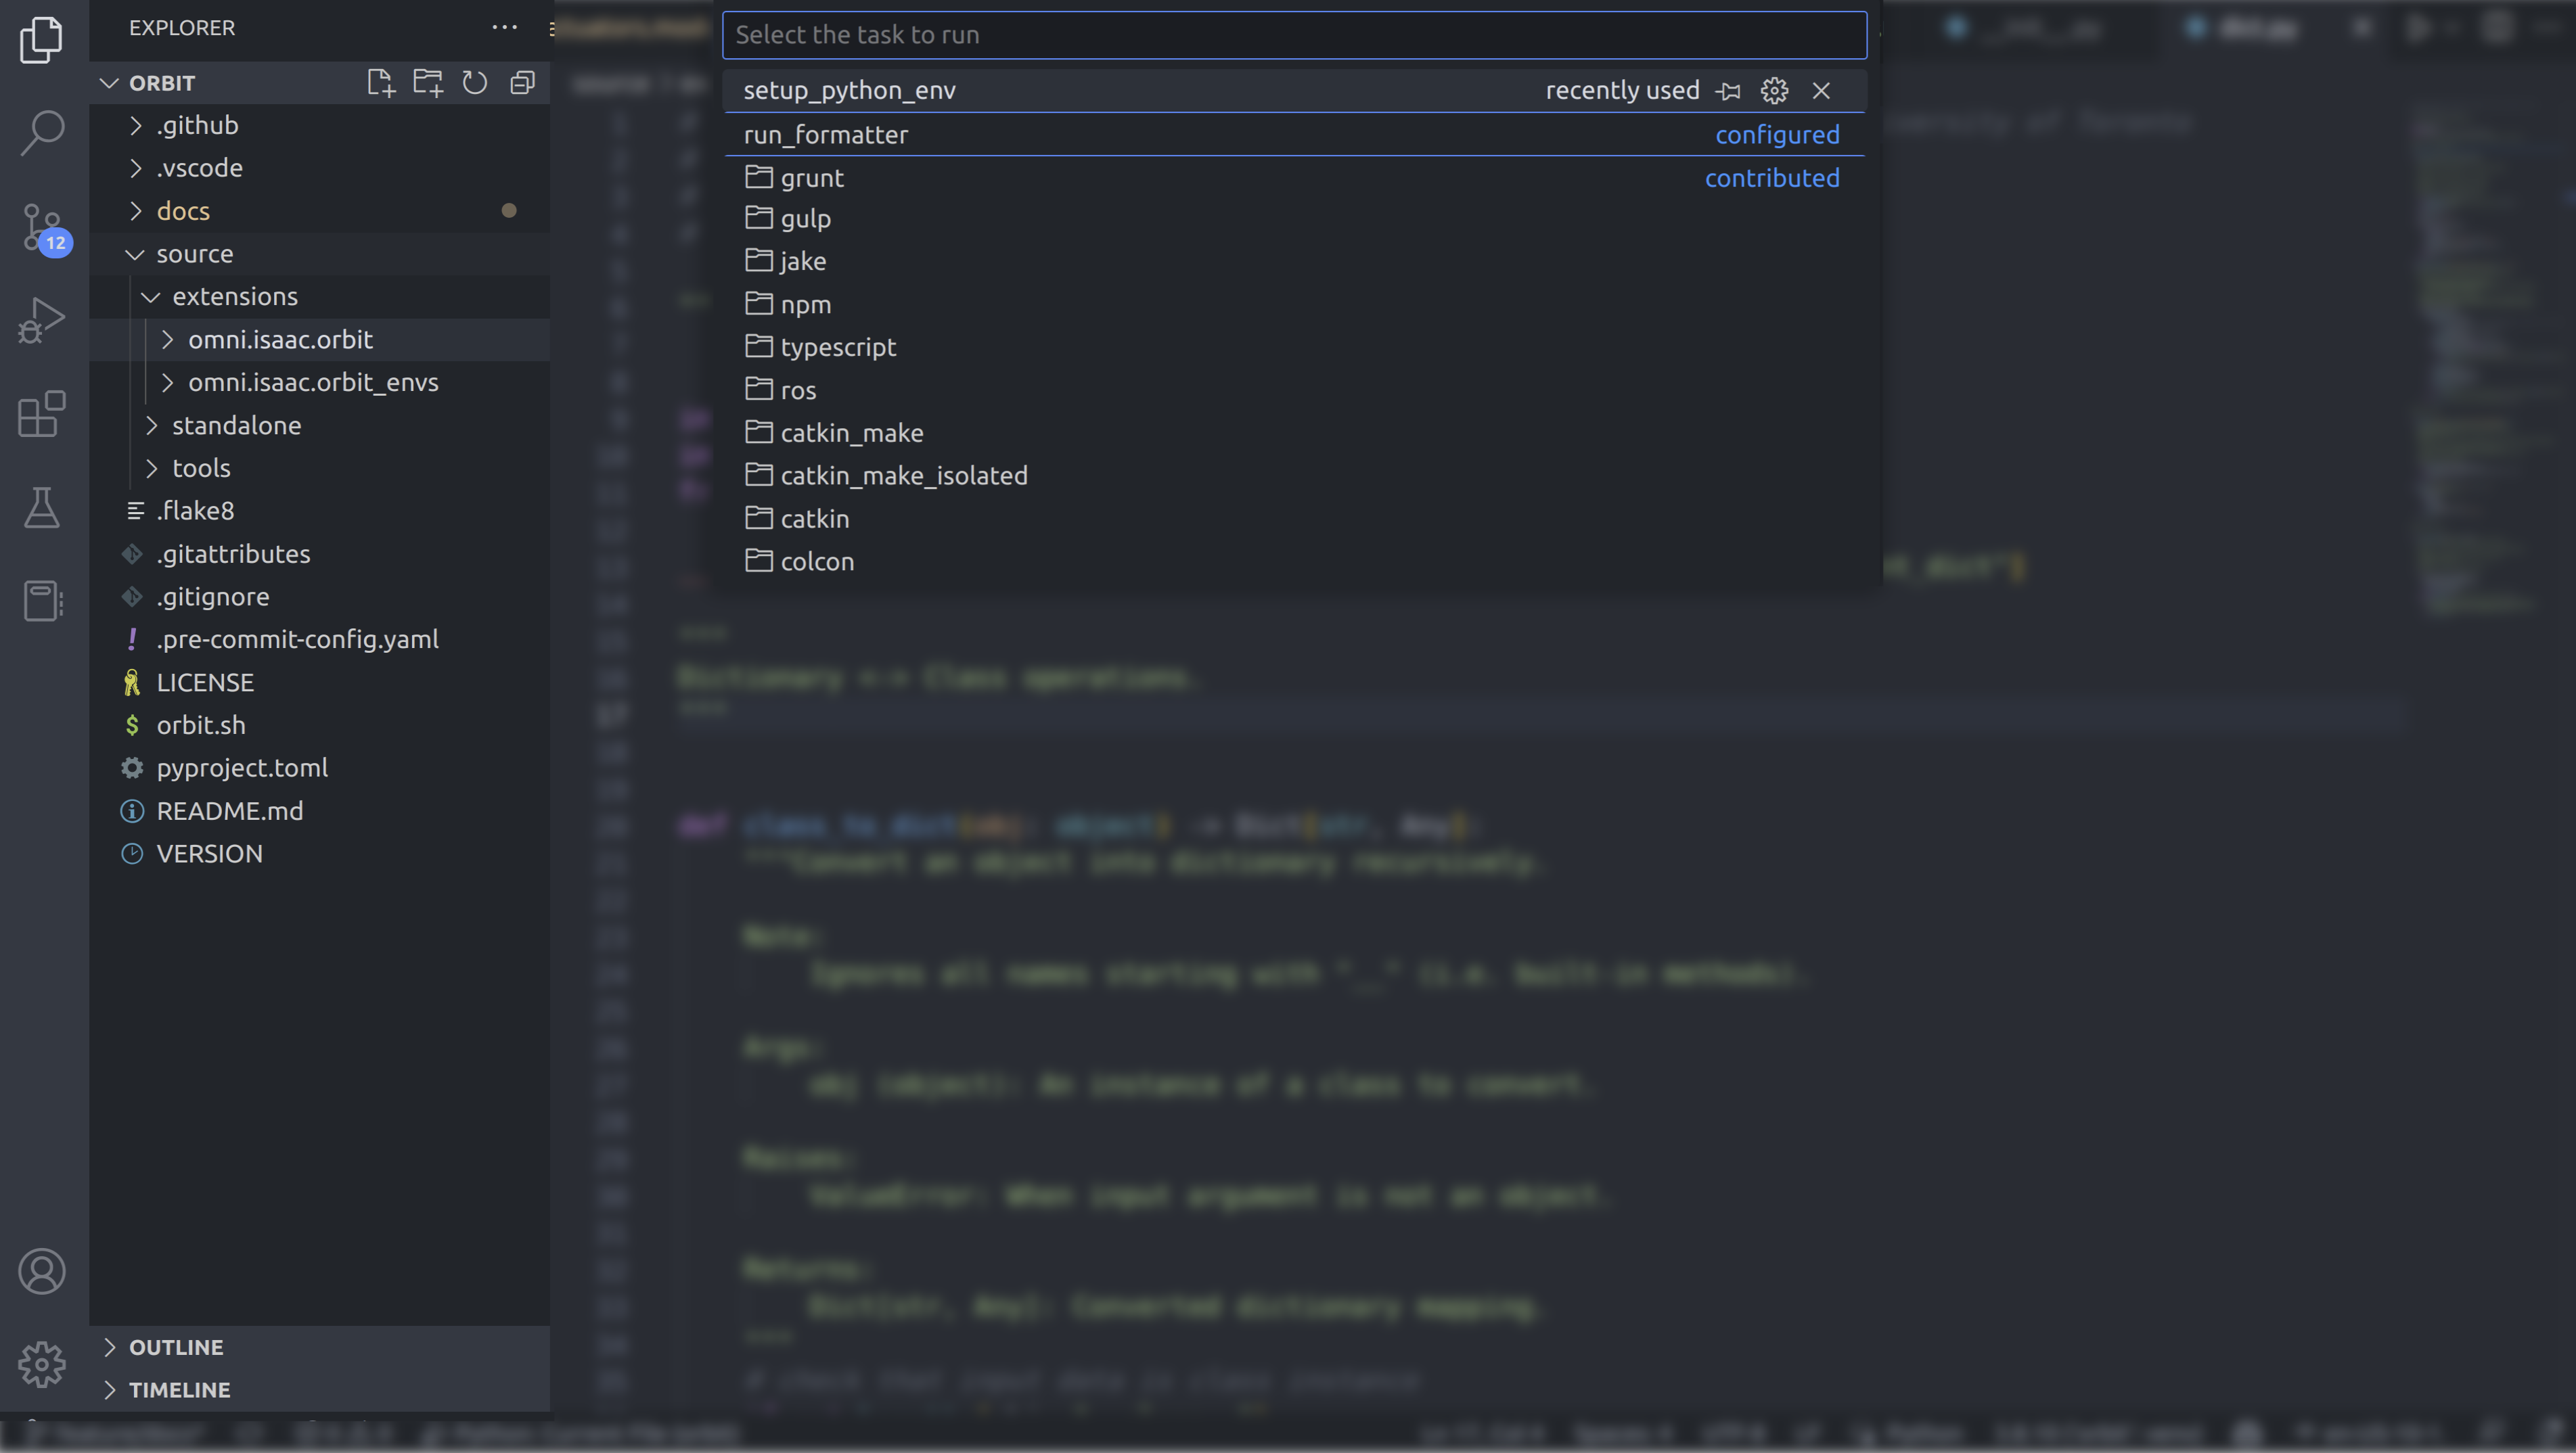
备注
如果这是您第一次在 VS Code 中运行任务,系统可能会提示您选择如何处理警告。只需按照提示操作,直到任务窗口关闭。
如果一切执行正确,它应该创建以下文件:
.vscode/launch.json: 包含用于调试 python 代码的启动配置。.vscode/settings.json: 包含 python 解释器和 python 环境的设置。
有关 VSCode 对 Omniverse 的支持的更多信息,请参考以下链接:
配置 Python 解释器#
在提供的配置中,我们将默认的 python 解释器设置为使用 Omniverse 提供的 python 可执行文件。这在 .vscode/settings.json 文件中指定:
{
   "python.defaultInterpreterPath": "${workspaceFolder}/_isaac_sim/python.sh",
}
如果你想使用不同的 python 解释器(例如,从你的 conda 或 uv 环境),你需要通过选择并激活你在 VSCode 左下角选择的 python 解释器来更改使用的 python 解释器,或者打开命令面板(Ctrl+Shift+P )并选择 Python: Select Interpreter 。
有关如何为 VSCode 设置 Python 解释器的更多信息,请参考 VSCode documentation 。
设置格式化和代码检查#
我们使用 ruff 作为格式化工具和代码检查工具。这些在 .vscode/settings.json 文件中进行配置:
{
   "ruff.configuration": "${workspaceFolder}/pyproject.toml",
}
ruff 代码检查工具将在您的代码中显示警告和错误,以帮助您遵循 Python 最佳实践和项目的编码标准。