Depth Sensors#
Stereoscopic Depth Cameras#
Single-View Post-Processing Pipeline#
Isaac Sim models stereoscopic depth cameras using a single camera view through the isaacsim.sensors.experimental.rtx.SingleViewDepthCameraSensor class. This class wraps around isaacsim.sensors.experimental.rtx.RtxCamera, and
includes APIs for configuring a post-processing pipeline for stereoscopic depth estimation from a single Camera prim. The process by which the renderer models disparity and noise from a single camera view
is described in detail here.
Standalone Python#
Check out the standalone example located at standalone_examples/api/isaacsim.sensors.experimental.rtx/camera_stereoscopic_depth.py for an example of how to use the SingleViewDepthCameraSensor class from isaacsim.sensors.experimental.rtx
and the new Annotators provided in Replicator.
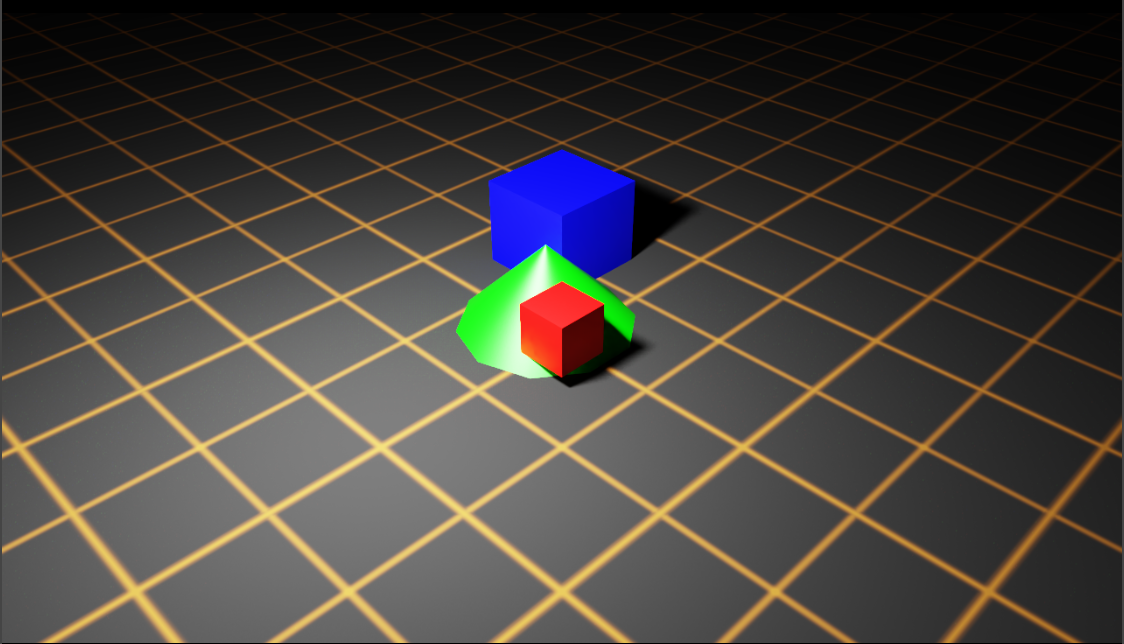
When running the standalone example, a basic set of colored shapes in the Black Grid environment are in the viewport, like below:
Now, examine the disparity map generated by the depth sensor as follows:
Select the camera render product in the viewport.
Click Render Settings > Post Processing > Depth Sensor to examine the depth sensor post-processing pipeline settings.
Tick the checkbox for Depth Sensor.
Select Disparity from the RGB Depth Output Mode dropdown.
The settings will look like the following:

Note
To learn more about these Post Processing settings, visit Single View Depth Camera documentation.
Verify that you see the disparity map in the viewport, like below:

Note
Any settings under Render Settings > Post Processing > Depth Sensor will be applied to all render products in the scene (including the viewport). The isaacsim.sensors.experimental.rtx.SingleViewDepthCameraSensor class
enables configuration of individual render products as depth sensors.
Close the Isaac Sim UI and rerun the standalone example as follows:
./python.sh standalone_examples/api/isaacsim.sensors.experimental.rtx/camera_stereoscopic_depth.py --test
Isaac Sim will now run the standalone example in headless mode and generate the following output from Annotators
attached to the camera render product. The first image is output from the DepthSensorDistance Annotator (depth_sensor_distance.png), and the
second image is output from the DistanceToImagePlane Annotator (distance_to_image_plane.png).


Depth Camera Asset Wrapper#
Isaac Sim supports several official Depth Sensors. These can be loaded as USD references on a stage
using RtxCamera.create() from isaacsim.sensors.experimental.rtx. When SingleViewDepthCameraSensor subsequently wraps the resulting RtxCamera,
it automatically detects any RenderProduct prims embedded in the asset that have OmniSensorDepthSensorSingleViewAPI applied and are linked to the
loaded camera, then copies their depth sensor attributes onto the dynamically created render product. This gives you full control over the post-processing
pipeline for each depth sensor in the asset and allows any number of annotators to be attached through the SingleViewDepthCameraSensor API.
Note
Attribute specification for Camera prims in the official assets linked above are tentative, and can change in future asset updates or releases.
Script Editor#
As an example, you can load the Realsense D455 depth camera asset and attach an annotator to the depth sensor by running the following snippet in the Script Editor:
from isaacsim.sensors.experimental.rtx import RtxCamera, SingleViewDepthCameraSensor
from isaacsim.storage.native import get_assets_root_path

assets_root_path = get_assets_root_path()

# Load the Realsense D455 depth camera asset as a USD reference.
# RtxCamera.create() discovers the Camera prim inside the asset automatically.
cam = RtxCamera.create(
    "/World/D455",
    usd_path=assets_root_path + "/Isaac/Sensors/RealSense/D455/rsd455.usd",
)

# Wrap with SingleViewDepthCameraSensor. Depth sensor attributes (baseline,
# focal length, noise, etc.) are automatically copied from the RenderProduct
# prims already embedded in the asset.
sensor = SingleViewDepthCameraSensor(
    cam,
    resolution=(720, 1280),
    annotators=["depth_sensor_distance"],
)
sensor.set_enabled_post_processing(True)
Observe the Stage window indicates the Realsense D455 depth camera asset has been loaded.

Next, observer the Layer window indicates the appropriate RenderProduct prim has been created, with a
HydraTexture and DepthSensorDistance RenderVar attached:

Building a Depth Sensor Model in Isaac Sim#
Updating Existing Assets to Use Depth Sensors#
Isaac Sim provides a convenient API to build a depth camera USD asset using RtxCamera and
SingleViewDepthCameraSensor.add_template_render_product from isaacsim.sensors.experimental.rtx.
The following example creates an RtxCamera prim, embeds a template RenderProduct with
OmniSensorDepthSensorSingleViewAPI applied, and exports the result as a USD asset:
./python.sh standalone_examples/api/isaacsim.sensors.experimental.rtx/create_camera_depth_sensor.py
Running the example will create a new example_camera_with_depth_sensor.usd asset under
_example_output_isaacsim.sensors.experimental.rtx/create_camera_depth_sensor/ in the working directory.
Then, open the new asset in Isaac Sim, and observe the following in the Stage window:

Observe the new render product prim has been created and associated to the Camera prim, with the custom
value set for the omni:rtx:post:depthSensor:baselineMM attribute.
Open a new stage, and run the following snippet in the Script Editor to load the exported asset as a
reference using RtxCamera.create. SingleViewDepthCameraSensor will automatically detect the embedded
template render product and copy its depth sensor attributes onto the dynamically created render product:
import os

from isaacsim.sensors.experimental.rtx import RtxCamera, SingleViewDepthCameraSensor

usd_path = os.path.join(
    os.getcwd(),
    "_example_output_isaacsim.sensors.experimental.rtx",
    "create_camera_depth_sensor",
    "example_camera_with_depth_sensor.usd",
)

cam = RtxCamera.create("/World/depth_sensor", usd_path=usd_path)
sensor = SingleViewDepthCameraSensor(cam, resolution=(720, 1280), annotators=["depth_sensor_distance"])
sensor.set_enabled_post_processing(True)
Observe in the Layer window the new render product is appropriately created and named camera_sensor_[random number],
with the custom value set for the omni:rtx:post:depthSensor:baselineMM attribute.

Creating a New Depth Sensor Asset#
As noted earlier, the Single-View Post-Processing Pipeline is intended to model stereoscopic depth cameras specifically, not (eg.) time-of-flight sensors or structured light sensors. This section will link to other sections of Isaac Sim documentation to describe a general process for building a new stereoscopic depth sensor model, but should not be used as a template for other types of depth sensors.
Use any of the supported Isaac Sim Importers and Exporters to import an existing model of the depth sensor into USD.
Add
Cameraprims to appropriate locations in the model and save the asset.Build a test environment in USD, positioning objects and the depth sensor in the environment to accurately model a real-world test rig.
If using OpenCV to calibrate the real-world cameras, apply the OpenCV lens distortion schemas to the
Cameraprims, as described in Calibration and Camera Lens Distortion Models.Calibrate camera intrinsics and extrinsics for each Camera prim by comparing rendered images to real-world images and tuning Camera prim attributes.
When the camera intrinsics and extrinsics are calibrated, refer to examples in Standalone Python to script the post-processing pipeline: apply the depth sensor schema to a render product attached to the depth sensor
Cameraprim, set attributes, render a depth image, and compare the rendered depth image to the real-world depth image. Update depth sensor schema attributes, and repeat the process until the rendered depth image matches the real-world depth image within some acceptable threshold.