Tutorial 7: Configure a Manipulator#
Learning Objectives#
This is the second manipulator tutorial in a series of four tutorials. This tutorial shows how to configure physics, joint effort limits, and gains for the UR10e robot from Universal Robots and the 2F-140 gripper from Robotiq.
30 Minutes Tutorial
Prerequisites#
Review Tutorial 6: Setup a Manipulator tutorial prior to beginning this tutorial. The steps here continue from the asset built in the previous tutorial.
Note
If you have not completed the previous tutorial, you can find the prebuilt asset in the content browser at Isaac Sim/Samples/Rigging/Manipulator/configure_manipulator/ur10e/ur_gripper/ur.usda.
We highly recommend downloading the prebuilt asset to your local machine for easier access.
Adjust the Articulation for Manipulation Tasks#
Adjust the articulation for the UR10e robot to make it more stable and accurate for manipulation tasks. Let’s first open the physx layer, and create a physx articulation root.
Open the interface file,
ur.usda, and select the layer lab on the top right cornerClick “Insert Sublayer” icon at the bottom of the layer panel. (orange arrow with stacked layers icon)
In the file dialog, navigate to
path/to/Manipulator/configure_manipulator/ur10e/ur_gripper/payloads/Physics/, selectphysx.usda, and click Open to insert it as a sublayer.
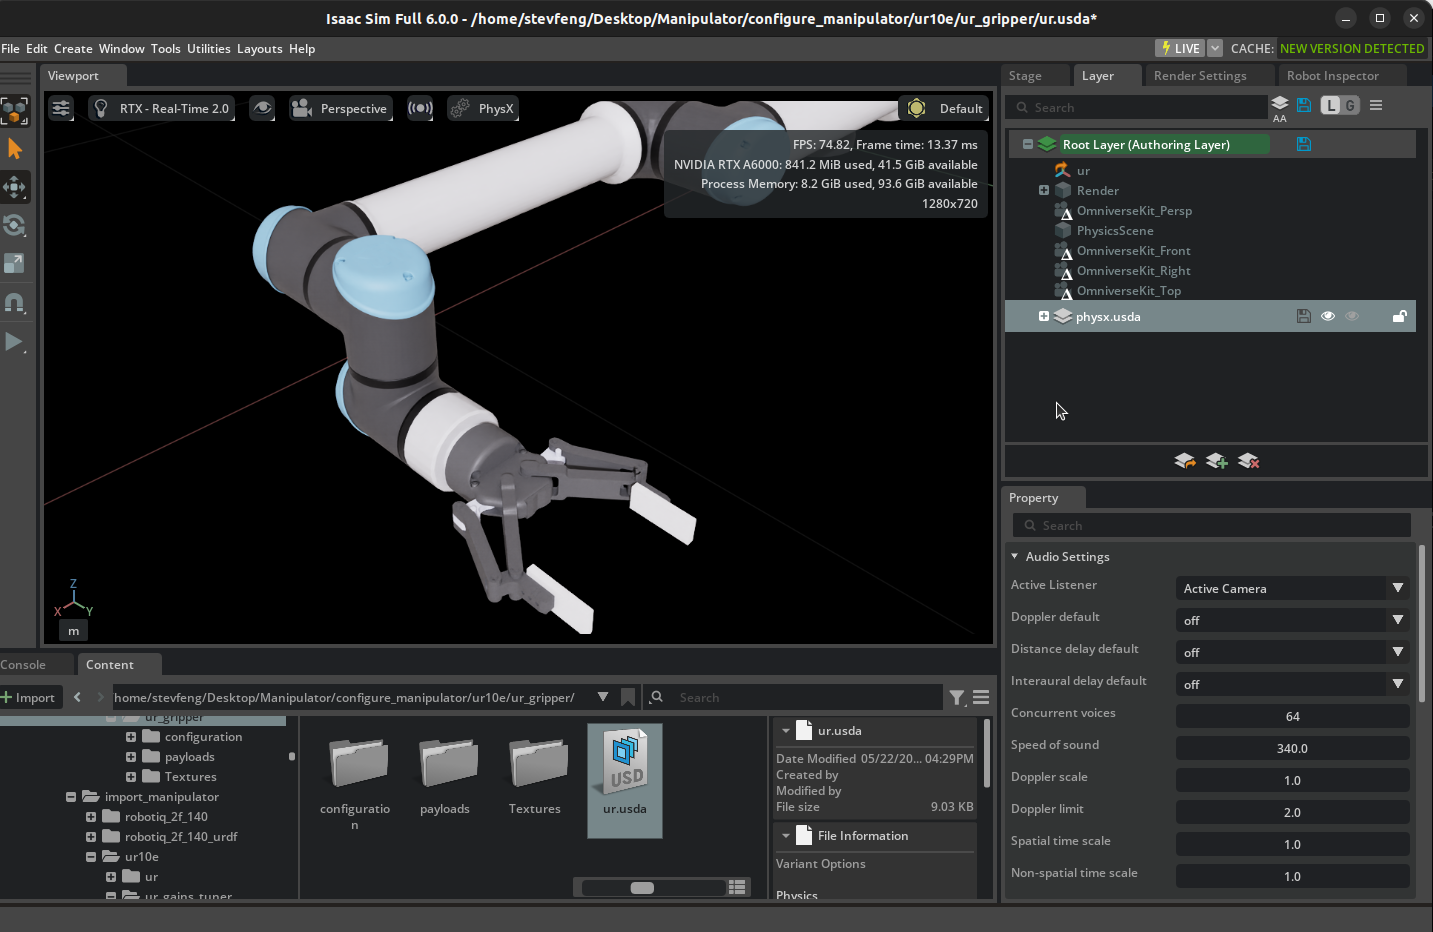
Left click on physx.usda layer, then right click to select “Set Authoring Layer”. Now all your changes will be saved to the physx.usda layer.

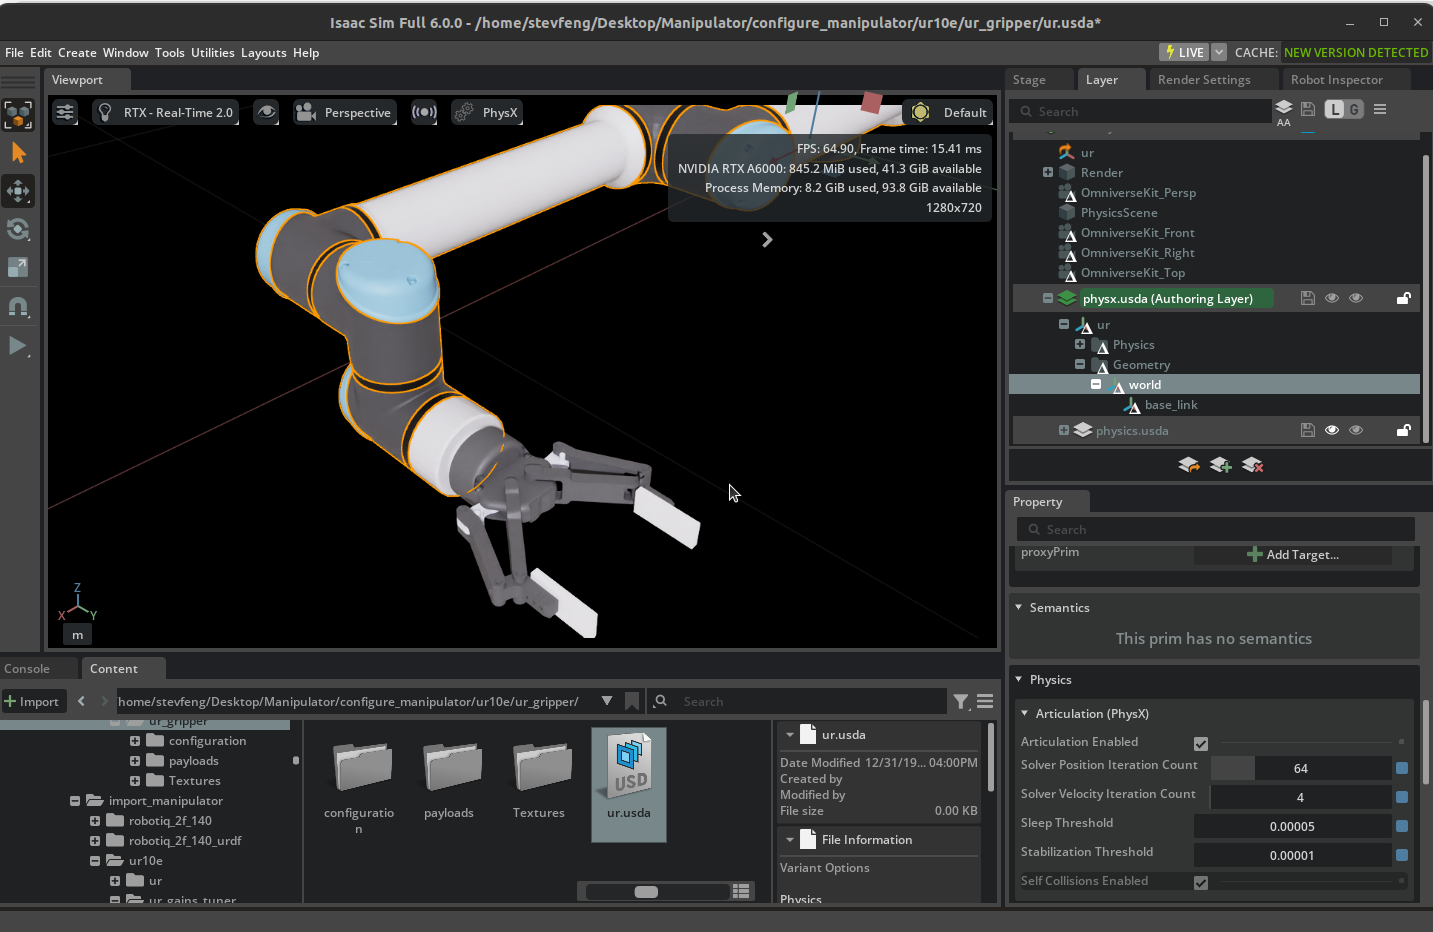
In the Stage panel, select the ur/Geometry/World prim.
In the Property Editor at the bottom right, scroll down to the Physics/Articulation section. If you do not see an Articulation(PhysX), create a new one by clicking the add > Physics > Articulation(PhysX).
Select Articulation Enabled.
Increase the Solver Position Iterations Count to
64.Increase the Solver Velocity Iterations Count to
4.Note
The Solver Position Iterations Count and Solver Velocity Iterations Count are used to control the accuracy of the simulation.
For a complex robot with many degrees of freedoms and mimic joints, increasing these values will make the simulation more accurate at the cost of performance. See articulation documentation for more information.
Decrease Sleep Threshold to
0.00005, this lowers the threshold for the robot to go to sleep when it is not moving. see rigid body dynamics documentation for more information.Decrease the Stabilization Threshold to
0.00001, this lowers the threshold for the robot to start stabilizing itself when it is not moving. see articulation documentation for more information.Next to the physx.usda (Authoring Layer) label, click the blue files icon to save the changes to the physx.usda layer.
Verify that in physx.usda layer, the Articulation(PhysX) prim is created and the properties are set correctly.
over "Geometry"
 {
     over "world" (
         prepend apiSchemas = ["PhysxArticulationAPI"]
     )
     {
         float physxArticulation:sleepThreshold = 0.00005
         int physxArticulation:solverPositionIterationCount = 64
         int physxArticulation:solverVelocityIterationCount = 4
         float physxArticulation:stabilizationThreshold = 0.00001

         over "base_link"
         {
             string isaac:nameOverride (
                 displayName = "Name Override"
             )
         }
     }
 }
Note
See PhysX Best Practice Guide for tuning the articulation for manipulation tasks.
Add Physics Materials#
Add physics materials to the robot gripper to make it more realistic and stable for manipulation tasks.
Open the physics layer from the 2F-140 gripper asset from the last tutorial. It is located in the
configurationfolder with suffix_physics.Note
If you have not completed the previous tutorial, you can find the prebuilt asset in the content browser at
Isaac Sim/Samples/Rigging/Manipulator/import_manipulator/robotiq_2f_140/configuration/robotiq_2f_140_physics.usd.Right click on the robotiq_arg2f_140_model prim and select Create > Physics > Physics Material, select Rigid Body Material. This will add a physics material attribute to the gripper.
In the properties panel, scroll down to the Physics/Rigid Body Material section and set the static friction to 1.0 and dynamic friction to 1.0. For your robot, match the friction values to the robot’s surface friction coefficients.
Apply the physics material to the gripper finger tip. - Select the
colliders/left_inner_finger/mesh_1/boxand in the properties panel, scroll down to the Physics/Physics material on selected Material section. - Select the Physics Material you just created at/World/robotiq_arg2f_140_model/Looks/finger.Repeat the same process for the
colliders/right_inner_finger/mesh_1/boxprim.
Note
See Adding Props for more information on how to add physics materials to the robot.
Configure Joint Effort Limits#
In the physics layer of the robotiq_arg2f_140_model asset from the previous step, let’s configure the joint effort limits for the gripper.
In the Stage panel, select the
robotiq_arg2f_140_model/joints/finger_jointprim. This is the joint that controls the gripper fingers, all other gripper joints areMimicjoints.In the Property Editor at the bottom right, scroll down to the
Drive/Angular/Max Forcesection.Set the Max Force to
200. This is the maximum force that can be applied to the gripper fingers. For your robot, match the max force to the robot’s joint torque limits.Ctrl + S to save the changes.
Note
When the max force is very high, you might need to increase the physics step frequency (Time Step per Second) to avoid penetration and instabilities.
Inspect the Robot Articulation#
Let’s inspect the robot articulation to verify the joint effort limits are applied correctly. Open the top level ur asset that you built in the previous tutorial.
This asset references the physics layers that you modified, so all the changes you made to the physics layer will be reflected in this asset.
Note
You can find the prebuilt asset in the content browser at Isaac Sim/Samples/Rigging/Manipulator/configure_manipulator/ur10e/ur_set_physx/ur.usda.
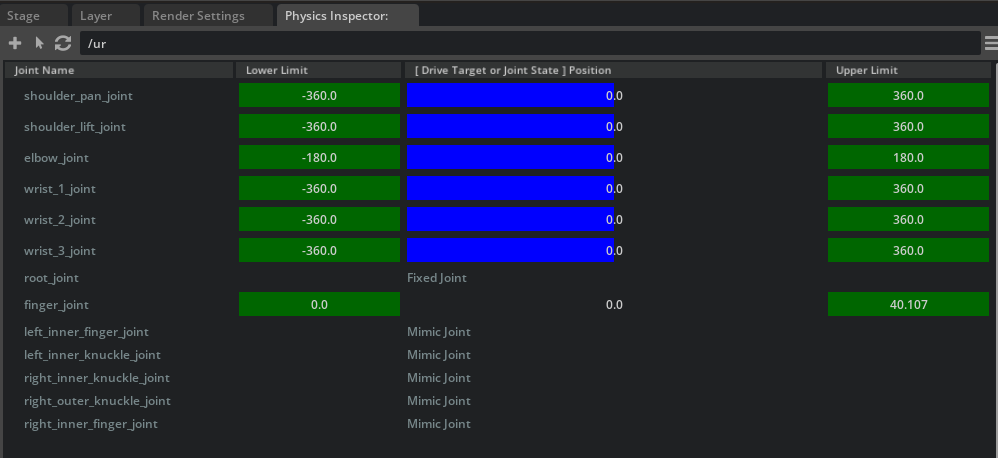
Open the Physics Inspector through Tools > Physics > Physics Inspector.
Select the UR articulation in the stage, click on the circular arrow icon to refresh the articulation.
Try changing the target position with the blue slider and verify that the DOF position reaches the target specified.
Close the Physics Inspector window/panel (discarding any changes authored by this tool, if prompted).
Warning
Since the Physics Inspector partially initializes
omni.physx, it is expected for general simulations to not behave properly when the tool is opened.
Summary#
In this tutorial, you learned how to configure the physics, joint effort limits, and gains for the UR10e robot from Universal Robots and the 2F-140 gripper from Robotiq using the Gain Tuner. You added physics materials to the robot gripper to make it more realistic and stable for manipulation tasks. You inspected the robot articulation and tuned the gains for the robot and the gripper fingers joints using the Physics Inspector.