RTX Lidar Sensor#
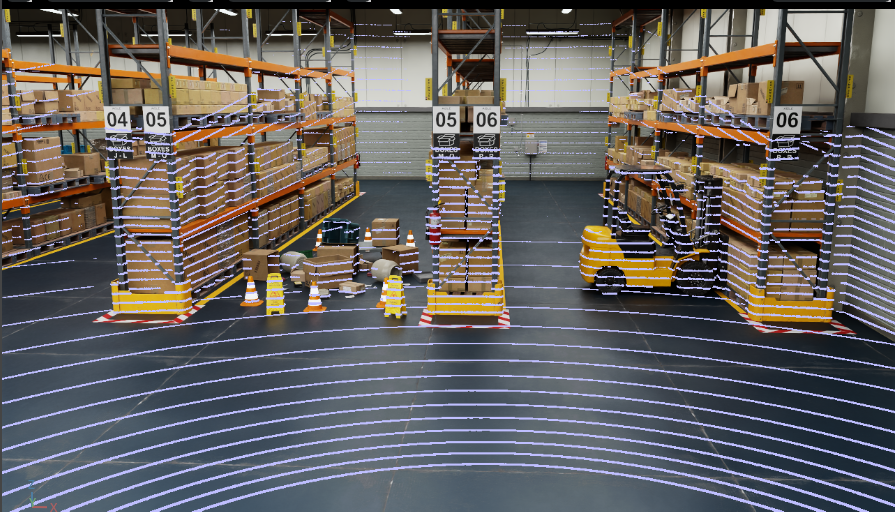
RTX Lidar sensors are simulated at render time on the GPU with RTX hardware.
Their results are then copied to the GenericModelOutput AOV for use.
Overview#
Note
In Isaac Sim 4.5 and earlier, RTX sensors were based on Camera prims. If the Camera prim’s
sensorModelPluginName attribute was set to omni.sensors.nv.lidar.lidar_core.plugin, then the
Camera prim was used to render the Lidar. The Lidar was configured using a JSON file whose
filename (without extension) was set in the Camera prim’s sensorModelConfig attribute, assuming
the file was present in a folder specified by the app.sensors.nv.lidar.profileBaseFolder setting.
Support for Camera prims as RTX Lidars was deprecated in Isaac Sim 5.0.
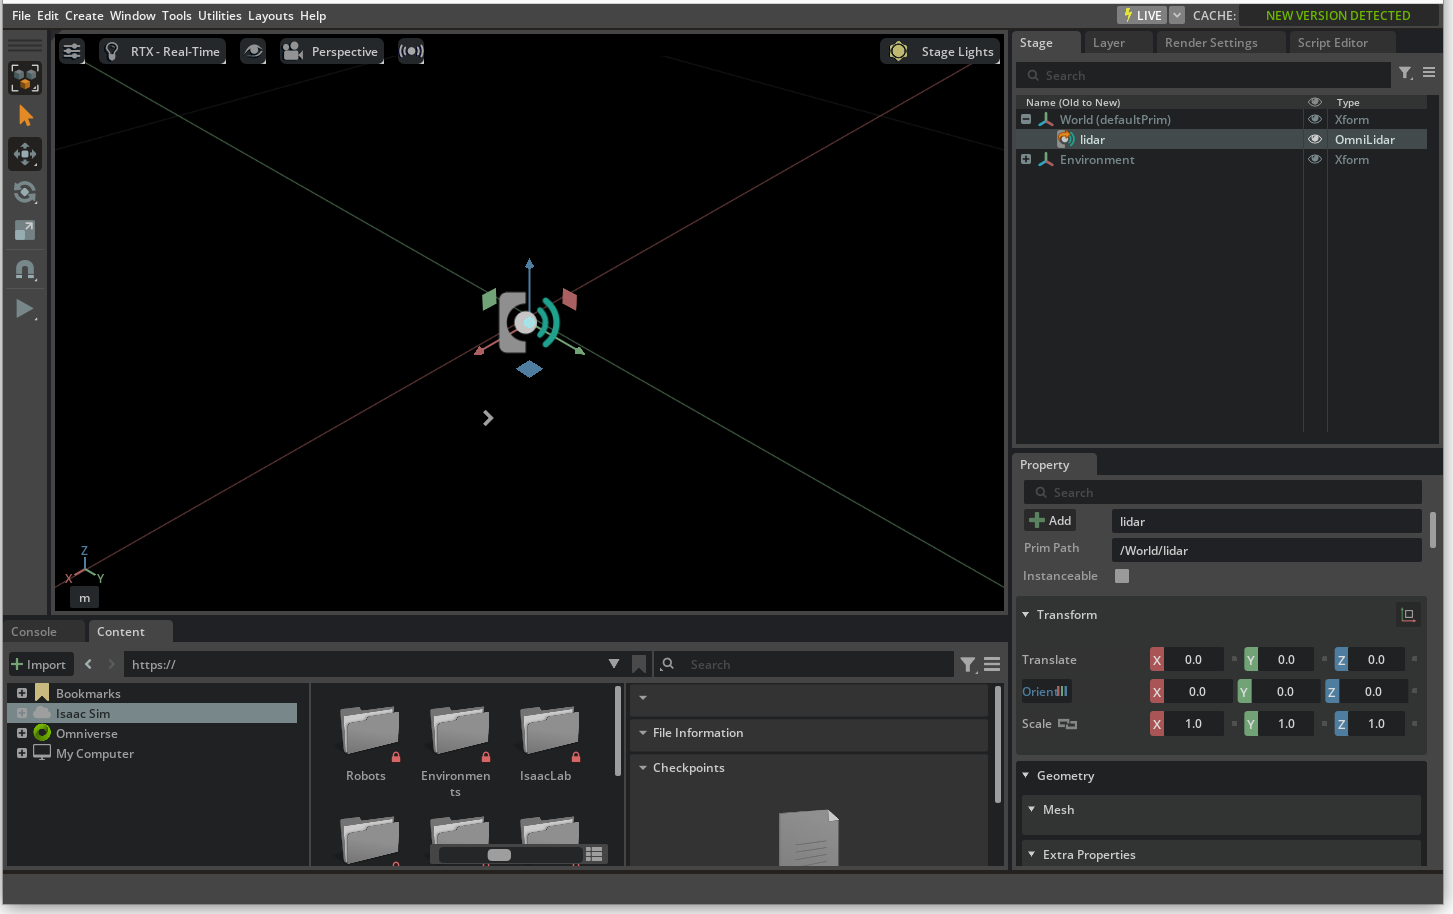
RTX Lidars are rendered using OmniLidar prims, with the OmniSensorGenericLidarCoreAPI schema applied,
as configured by attributes on the prim. After attaching a render product to the OmniLidar prim, and setting
the GenericModelOutput AOV on the render product, the RTXSensor renderer will write Lidar render results to the AOV.
The OmniSensorGenericLidarCoreAPI schema is defined in the omni.usd.schema.omni_sensors extension, documented here.
How to Create an RTX Lidar#
The isaacsim.sensors.rtx extension provides two APIs for creating RTX Lidars. In addition, the omni.replicator.core
extension provides even lower-level APIs for creating OmniLidar prims (including batch creation) and attaching render
products to them.
Create an RTX Lidar via Command#
The lower-level IsaacSensorCreateRtxLidar command creates a reference on the stage to a known Lidar USD or USDA asset,
a generic OmniLidar prim with the appropriate schema(s) applied, or a Camera prim with the appropriate attributes
to support deprecated workflows.
import omni
from pxr import Gf

# Specify attributes to apply to the ``OmniLidar`` prim.
sensor_attributes = {'omni:sensor:Core:scanRateBaseHz': 20}

_, sensor = omni.kit.commands.execute(
    "IsaacSensorCreateRtxLidar",
    translation=Gf.Vec3d(0, 0, 0),
    orientation=Gf.Quatd(1, 0, 0, 0,),
    path="/lidar",
    parent=None,
    config="Example_Rotary",
    visiblity=False,
    variant=None,
    force_camera_prim=False,
    **sensor_attributes,
)
The example command above creates a reference to Example_Rotary.usda as an OmniLidar prim in the stage at the
specified translation with the specified orientation, at path /lidar. The prim is set to be invisible
in the stage. The Example_Rotary config does not support variant sets, so variant is unused. The prim’s
omni:sensor:Core:scanRateBaseHz attribute is set from 10 Hz (default) to 20 Hz.
Setting force_camera_prim to True will instead create an invisible Camera prim at the specified translation
and orientation, with the sensorModelConfig attribute set to Example_Rotary.
Setting config to None will create a generic OmniLidar prim with the OmniSensorGenericLidarCoreAPI schema applied;
any additional keyword arguments will be passed through and set as attributes on the OmniLidar prim. Review the
OmniSensorGenericLidarCoreAPI schema and OmniSensorGenericLidarCoreEmitterStateAPI schema in the omni.usd.schema.omni_sensors extension,
documented here. Note if you are specifying emitter state attributes, the attribute names must be prefixed with the appropriate emitter state count, eg.
OmniSensorGenericLidarCoreEmitterStateAPI:s001:elevationDeg or OmniSensorGenericLidarCoreEmitterStateAPI:s002:azimuthDeg.
Create an RTX Lidar via LidarRtx Class#
The higher-level LidarRtx class provides a Python interface for creating and configuring RTX Lidars.
In addition to passing constructor arguments to the IsaacSensorCreateRtxLidar command, the LidarRtx
class automatically wraps around the resulting OmniLidar prim and attaches a render product to it.
It includes APIs to attach appropriate isaacsim.sensors.rtx annotators and any writers to the render
product, and to read annotator and writer results each frame via a data dictionary returned by the
get_data method.
An example of creating an RTX Lidar via the LidarRtx class is shown below:
import numpy as np
import omni
from isaacsim.sensors.rtx import LidarRtx

sensor_attributes = {'omni:sensor:Core:scanRateBaseHz': 20}

# Create the RTX Lidar with the specified attributes.
sensor = LidarRtx(
    prim_path="/lidar",
    translation=np.array([0.0, 0.0, 1.0]),
    orientation=np.array([1.0, 0.0, 0.0, 0.0]),
    config_file_name="Example_Rotary",
    **sensor_attributes,
)
Similar to the command above, the specified call to LidarRtx creates a reference to Example_Rotary.usda as
an OmniLidar prim in the stage at the specified translation with the specified orientation, at path
/lidar. The prim is set to be invisible in the stage. The Example_Rotary config does not support variant sets,
so variant is unused. The prim’s omni:sensor:Core:scanRateBaseHz attribute is set from 10 Hz (default) to 20 Hz.
Details about available annotators can be explored here.
RTX Lidar Asset Library#
Isaac Sim includes a library of RTX Lidars that can be loaded
onto the stage by specifying the config and variant parameters of the IsaacSensorCreateRtxLidar command,
or the config_file_name parameter of the LidarRtx constructor. The config or config_file_name parameter can be the following:
The exact name of a Lidar model USD file without extension, as provided in the Content Browser and noted in the RTX Lidars library (eg.
HESAI_XT32_SD10).The exact name of a Lidar model USD file as noted above, but with spaces replacing underscore (eg.
HESAI XT32 SD10).The exact name of a Lidar model USD file as noted above, omitting the vendor name (eg.
XT32_SD10).The exact name of a Lidar model USD file as noted above, omitting the vendor name and replacing underscores with spaces (eg.
XT32 SD10). Note this option matches the name of the Lidar in the Create menu.
The optional variant will select the specific variant of the provided Lidar configuration, as noted in the model’s documentation. For example,
the snippet below will load a SICK picoScan150 Lidar with the Normal_11 variant selected.
import omni
from pxr import Gf

_, sensor = omni.kit.commands.execute(
    "IsaacSensorCreateRtxLidar",
    path="/lidar",
    config="picoScan150",
    variant="Normal_11",
)
Sensor Materials#
The material system for RTX Lidar allows content creators to assign sensor material types to partial material prim names on a USD stage. Lidar return behavior depends on material properties (eg. emissivity, reflectivity, etc.), as described below.
Standalone Examples#
For examples of creating RTX Lidar see the examples:
./python.sh standalone_examples/api/isaacsim.ros2.bridge/rtx_lidar.py
./python.sh standalone_examples/api/isaacsim.util.debug_draw/rtx_lidar.py Example_Rotary
./python.sh standalone_examples/api/isaacsim.util.debug_draw/rtx_lidar.py Example_Solid_State
Note
See the Isaac Sim Conventions documentation for a complete list of Isaac Sim conventions.