Interacting with a rigid object#
In the previous tutorials, we learned the essential workings of the standalone script and how to
spawn different objects (or prims) into the simulation. This tutorial shows how to create and interact
with a rigid object. For this, we will use the assets.RigidObject class provided in Isaac Lab.
The Code#
The tutorial corresponds to the run_rigid_object.py script in the scripts/tutorials/01_assets directory.
Code for run_rigid_object.py
  1# Copyright (c) 2022-2026, The Isaac Lab Project Developers (https://github.com/isaac-sim/IsaacLab/blob/main/CONTRIBUTORS.md).
  2# All rights reserved.
  3#
  4# SPDX-License-Identifier: BSD-3-Clause
  5
  6"""
  7This script demonstrates how to create a rigid object and interact with it.
  8
  9.. code-block:: bash
 10
 11    # Usage
 12    ./isaaclab.sh -p scripts/tutorials/01_assets/run_rigid_object.py
 13
 14"""
 15
 16"""Launch Isaac Sim Simulator first."""
 17
 18
 19import argparse
 20
 21from isaaclab.app import AppLauncher
 22
 23# add argparse arguments
 24parser = argparse.ArgumentParser(description="Tutorial on spawning and interacting with a rigid object.")
 25# append AppLauncher cli args
 26AppLauncher.add_app_launcher_args(parser)
 27# parse the arguments
 28args_cli = parser.parse_args()
 29
 30# launch omniverse app
 31app_launcher = AppLauncher(args_cli)
 32simulation_app = app_launcher.app
 33
 34"""Rest everything follows."""
 35
 36import torch
 37
 38import isaaclab.sim as sim_utils
 39import isaaclab.utils.math as math_utils
 40from isaaclab.assets import RigidObject, RigidObjectCfg
 41from isaaclab.sim import SimulationContext
 42
 43
 44def design_scene():
 45    """Designs the scene."""
 46    # Ground-plane
 47    cfg = sim_utils.GroundPlaneCfg()
 48    cfg.func("/World/defaultGroundPlane", cfg)
 49    # Lights
 50    cfg = sim_utils.DomeLightCfg(intensity=2000.0, color=(0.8, 0.8, 0.8))
 51    cfg.func("/World/Light", cfg)
 52
 53    # Create separate groups called "Origin1", "Origin2", "Origin3"
 54    # Each group will have a robot in it
 55    origins = [[0.25, 0.25, 0.0], [-0.25, 0.25, 0.0], [0.25, -0.25, 0.0], [-0.25, -0.25, 0.0]]
 56    for i, origin in enumerate(origins):
 57        sim_utils.create_prim(f"/World/Origin{i}", "Xform", translation=origin)
 58
 59    # Rigid Object
 60    cone_cfg = RigidObjectCfg(
 61        prim_path="/World/Origin.*/Cone",
 62        spawn=sim_utils.ConeCfg(
 63            radius=0.1,
 64            height=0.2,
 65            rigid_props=sim_utils.RigidBodyPropertiesCfg(),
 66            mass_props=sim_utils.MassPropertiesCfg(mass=1.0),
 67            collision_props=sim_utils.CollisionPropertiesCfg(),
 68            visual_material=sim_utils.PreviewSurfaceCfg(diffuse_color=(0.0, 1.0, 0.0), metallic=0.2),
 69        ),
 70        init_state=RigidObjectCfg.InitialStateCfg(),
 71    )
 72    cone_object = RigidObject(cfg=cone_cfg)
 73
 74    # return the scene information
 75    scene_entities = {"cone": cone_object}
 76    return scene_entities, origins
 77
 78
 79def run_simulator(sim: sim_utils.SimulationContext, entities: dict[str, RigidObject], origins: torch.Tensor):
 80    """Runs the simulation loop."""
 81    # Extract scene entities
 82    # note: we only do this here for readability. In general, it is better to access the entities directly from
 83    #   the dictionary. This dictionary is replaced by the InteractiveScene class in the next tutorial.
 84    cone_object = entities["cone"]
 85    # Define simulation stepping
 86    sim_dt = sim.get_physics_dt()
 87    sim_time = 0.0
 88    count = 0
 89    # Simulate physics
 90    while simulation_app.is_running():
 91        # reset
 92        if count % 250 == 0:
 93            # reset counters
 94            sim_time = 0.0
 95            count = 0
 96            # reset root state
 97            root_state = cone_object.data.default_root_state.clone()
 98            # sample a random position on a cylinder around the origins
 99            root_state[:, :3] += origins
100            root_state[:, :3] += math_utils.sample_cylinder(
101                radius=0.1, h_range=(0.25, 0.5), size=cone_object.num_instances, device=cone_object.device
102            )
103            # write root state to simulation
104            cone_object.write_root_pose_to_sim(root_state[:, :7])
105            cone_object.write_root_velocity_to_sim(root_state[:, 7:])
106            # reset buffers
107            cone_object.reset()
108            print("----------------------------------------")
109            print("[INFO]: Resetting object state...")
110        # apply sim data
111        cone_object.write_data_to_sim()
112        # perform step
113        sim.step()
114        # update sim-time
115        sim_time += sim_dt
116        count += 1
117        # update buffers
118        cone_object.update(sim_dt)
119        # print the root position
120        if count % 50 == 0:
121            print(f"Root position (in world): {cone_object.data.root_pos_w}")
122
123
124def main():
125    """Main function."""
126    # Load kit helper
127    sim_cfg = sim_utils.SimulationCfg(device=args_cli.device)
128    sim = SimulationContext(sim_cfg)
129    # Set main camera
130    sim.set_camera_view(eye=[1.5, 0.0, 1.0], target=[0.0, 0.0, 0.0])
131    # Design scene
132    scene_entities, scene_origins = design_scene()
133    scene_origins = torch.tensor(scene_origins, device=sim.device)
134    # Play the simulator
135    sim.reset()
136    # Now we are ready!
137    print("[INFO]: Setup complete...")
138    # Run the simulator
139    run_simulator(sim, scene_entities, scene_origins)
140
141
142if __name__ == "__main__":
143    # run the main function
144    main()
145    # close sim app
146    simulation_app.close()
The Code Explained#
In this script, we split the main function into two separate functions, which highlight the two main
steps of setting up any simulation in the simulator:
Design scene: As the name suggests, this part is responsible for adding all the prims to the scene.
Run simulation: This part is responsible for stepping the simulator, interacting with the prims in the scene, e.g., changing their poses, and applying any commands to them.
A distinction between these two steps is necessary because the second step only happens after the first step is complete and the simulator is reset. Once the simulator is reset (which automatically plays the simulation), no new (physics-enabled) prims should be added to the scene as it may lead to unexpected behaviors. However, the prims can be interacted with through their respective handles.
Designing the scene#
Similar to the previous tutorial, we populate the scene with a ground plane and a light source. In addition,
we add a rigid object to the scene using the assets.RigidObject class. This class is responsible for
spawning the prims at the input path and initializes their corresponding rigid body physics handles.
In this tutorial, we create a conical rigid object using the spawn configuration similar to the rigid cone
in the Spawn Objects tutorial. The only difference is that now we wrap
the spawning configuration into the assets.RigidObjectCfg class. This class contains information about
the asset’s spawning strategy, default initial state, and other meta-information. When this class is passed to
the assets.RigidObject class, it spawns the object and initializes the corresponding physics handles
when the simulation is played.
As an example on spawning the rigid object prim multiple times, we create its parent Xform prims,
/World/Origin{i}, that correspond to different spawn locations. When the regex expression
/World/Origin.*/Cone is passed to the assets.RigidObject class, it spawns the rigid object prim at
each of the /World/Origin{i} locations. For instance, if /World/Origin1 and /World/Origin2 are
present in the scene, the rigid object prims are spawned at the locations /World/Origin1/Cone and
/World/Origin2/Cone respectively.
    # Create separate groups called "Origin1", "Origin2", "Origin3"
    # Each group will have a robot in it
    origins = [[0.25, 0.25, 0.0], [-0.25, 0.25, 0.0], [0.25, -0.25, 0.0], [-0.25, -0.25, 0.0]]
    for i, origin in enumerate(origins):
        sim_utils.create_prim(f"/World/Origin{i}", "Xform", translation=origin)

    # Rigid Object
    cone_cfg = RigidObjectCfg(
        prim_path="/World/Origin.*/Cone",
        spawn=sim_utils.ConeCfg(
            radius=0.1,
            height=0.2,
            rigid_props=sim_utils.RigidBodyPropertiesCfg(),
            mass_props=sim_utils.MassPropertiesCfg(mass=1.0),
            collision_props=sim_utils.CollisionPropertiesCfg(),
            visual_material=sim_utils.PreviewSurfaceCfg(diffuse_color=(0.0, 1.0, 0.0), metallic=0.2),
        ),
        init_state=RigidObjectCfg.InitialStateCfg(),
    )
    cone_object = RigidObject(cfg=cone_cfg)
Since we want to interact with the rigid object, we pass this entity back to the main function. This entity
is then used to interact with the rigid object in the simulation loop. In later tutorials, we will see a more
convenient way to handle multiple scene entities using the scene.InteractiveScene class.
    # return the scene information
    scene_entities = {"cone": cone_object}
    return scene_entities, origins
Running the simulation loop#
We modify the simulation loop to interact with the rigid object to include three steps – resetting the simulation state at fixed intervals, stepping the simulation, and updating the internal buffers of the rigid object. For the convenience of this tutorial, we extract the rigid object’s entity from the scene dictionary and store it in a variable.
Resetting the simulation state#
To reset the simulation state of the spawned rigid object prims, we need to set their pose and velocity. Together they define the root state of the spawned rigid objects. It is important to note that this state is defined in the simulation world frame, and not of their parent Xform prim. This is because the physics engine only understands the world frame and not the parent Xform prim’s frame. Thus, we need to transform desired state of the rigid object prim into the world frame before setting it.
We use the assets.RigidObject.data.default_root_state attribute to get the default root state of the
spawned rigid object prims. This default state can be configured from the assets.RigidObjectCfg.init_state
attribute, which we left as identity in this tutorial. We then randomize the translation of the root state and
set the desired state of the rigid object prim using the assets.RigidObject.write_root_pose_to_sim() and assets.RigidObject.write_root_velocity_to_sim() methods.
As the name suggests, this method writes the root state of the rigid object prim into the simulation buffer.
            # reset root state
            root_state = cone_object.data.default_root_state.clone()
            # sample a random position on a cylinder around the origins
            root_state[:, :3] += origins
            root_state[:, :3] += math_utils.sample_cylinder(
                radius=0.1, h_range=(0.25, 0.5), size=cone_object.num_instances, device=cone_object.device
            )
            # write root state to simulation
            cone_object.write_root_pose_to_sim(root_state[:, :7])
            cone_object.write_root_velocity_to_sim(root_state[:, 7:])
            # reset buffers
            cone_object.reset()
Stepping the simulation#
Before stepping the simulation, we perform the assets.RigidObject.write_data_to_sim() method. This method
writes other data, such as external forces, into the simulation buffer. In this tutorial, we do not apply any
external forces to the rigid object, so this method is not necessary. However, it is included for completeness.
        # apply sim data
        cone_object.write_data_to_sim()
Updating the state#
After stepping the simulation, we update the internal buffers of the rigid object prims to reflect their new state
inside the assets.RigidObject.data attribute. This is done using the assets.RigidObject.update() method.
        # update buffers
        cone_object.update(sim_dt)
The Code Execution#
Now that we have gone through the code, let’s run the script and see the result:
./isaaclab.sh -p scripts/tutorials/01_assets/run_rigid_object.py
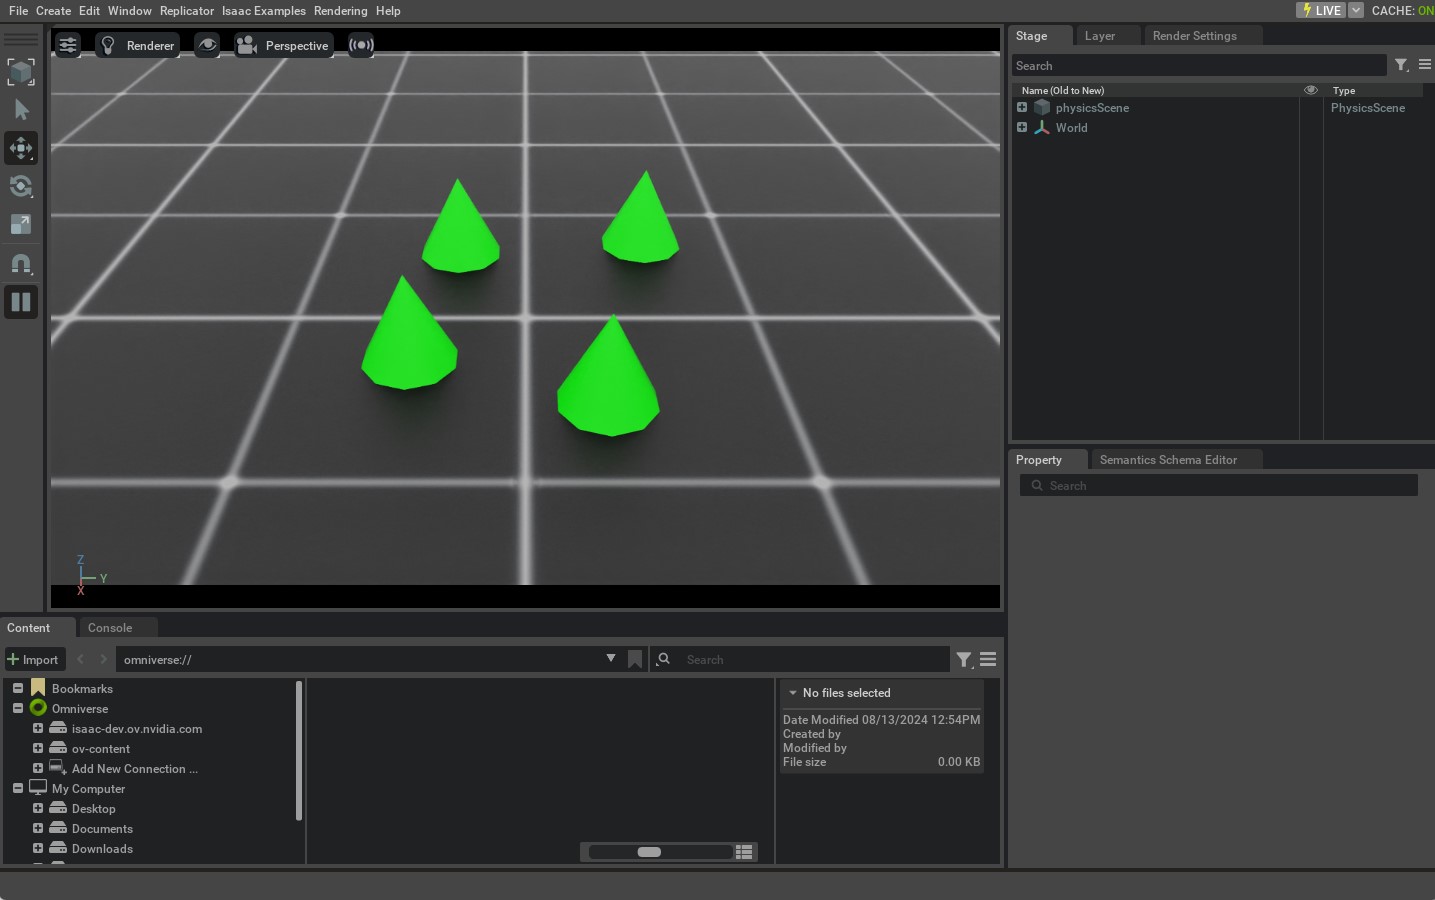
This should open a stage with a ground plane, lights, and several green cones. The cones must be dropping from
a random height and settling on to the ground. To stop the simulation, you can either close the window, or press
the STOP button in the UI, or press Ctrl+C in the terminal
This tutorial showed how to spawn rigid objects and wrap them in a RigidObject class to initialize their
physics handles which allows setting and obtaining their state. In the next tutorial, we will see how to interact
with an articulated object which is a collection of rigid objects connected by joints.